Post by scooterollie on Sept 7, 2006 21:23:11 GMT -5
The following applies to the TT150/250, Roketa Bali 150/250 & any other scoot of the same body style: (Pics will be posted later)
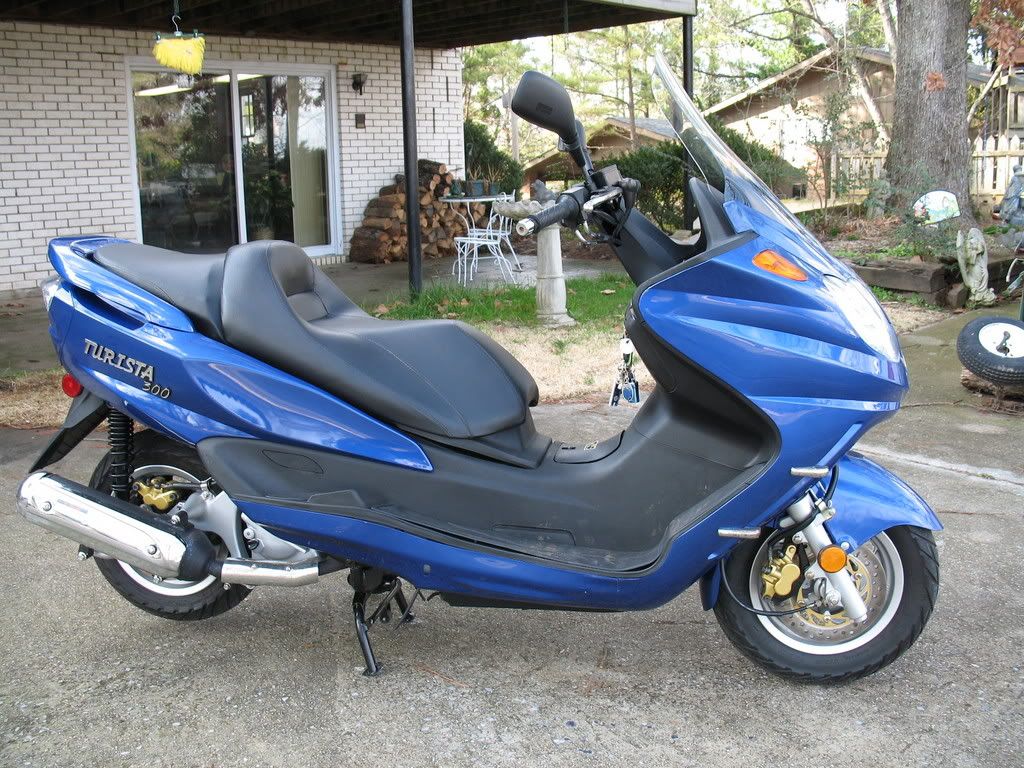
The headlight on my Roketa Bali 250 is better than the other scoots I have had but still needs improvement. There has been some discussion on the Yahoo Tank forum about adding driving lights to this body style and I have posed the mod here also. I wanted to mount the lights under the front nose and above the front wheel. Since this space is very limited and even more so because of the up/down & turning motion of the front wheel, the lights have to be very small. After checking all the local auto parts stores, I finally settled on a pair of fog lights from WalMart. They are marketed by "Optronics", are called the "Platinum Burners Series # QH-82YF", use the H3 55 watt bulbs, and cost only $15. Also purchased a $4 rocker switch w/blue LED. Initially I wanted driving lights because they project more down the road. Fog lights project ahead some but also fan out to the sides. All of the driving lights appeared to be too large by width and depth for the area so I went with the fogs.
The kit comes with "U-shaped" mounting brackets that have two holes. On my scoot, under the front nose are two 10 mm nuts on threaded studs to hold the nose in place - one on each side. I used one hole (inner-most hole of each bracket to move lights out to the side)and the stud to mount each bracket. This spot is not level so each bracket must be bent down. You can still bolt the lights up level because the sides of the brackets have long, slotted holes.
After securing the lamps, I started on the wiring. I didn't remove the front body panel, just reached up inside to route the wires up under the panel below the windshield. I bought the other switch because I wanted one that was almost flush with the dash. On the flat surface
under the horn button I drilled the hole to snap in the switch. Be careful to move far enough forward to clear the horn button switch and wiring plug inside the cowl. I did not want the lights to be activated without the ignition being on, so I used a switching relay I had around, powering it off the hot lead to the horn button. Lastly, I ran the power lead back to the battery. There was a 15 amp in-line fuse which I cut out because I wanted to install an aux. fuse block (see below) but my calculations indicate that only a 10 amp fuse may be necessary.
I'll only use these lights occasionally since I don't really plan on much after dark riding. I know 110 watts (total) is a good bit of drain on the minimal charging system on our scoots. I have seen it posted that the 250s do put out more of a charge than the 50-150 cc scoots but I wanted to power the lights directly off the battery. Part of this mod included the installation of a 12 amp hour/180 cold crank amps battery, replacing the O.E. 9 AH/120CCA battery. My Roketa does not have a fuse block, only the single in-line 9 amp bus-type fuse. I bought a 6-fuse block, mounting next to the battery box. Used a piece of 10 gauge braided wire to jump power from the battery to the aux. fuse block. Cut off the O.E. in-line fuse and connected that wire to the new fuse block. Connected the new fog lights to another location on the block. Still have four more open spots. Probably didn't need more than a four fuse block but six was what I found. On the fuse block pic you can also see the pigtail connected to the battery for my Black-n-Decker float charger.
Last step was to 25" from my garage door, place black tape on the door at the places indicated in the directions and wait for darkness to align the fog lights. After final adjustments to the lights, I went for a ride. They are brighter and whiter than the headlamps and on low beam provide excellent lighting from side to side as well as in front of the scoot. On high beam, the headlights provide decent, if not spectacular, down-the-road lighting, with the fogs illuminating everything to the sides as well as some reach down the road.
The major difficulty I encountered was with the mounting position. The front wheel moves up and down quite a bit and because of the fender shape and bulges, the fender can hit the bottom of a lamp when you are making a right/left turn and hit a bump. With the wheel straight, there is enough clearance. I repositioned the brackets, drilling a hole in the center between the other two holes. May still not have it right.
9/12/06 - Final solution: Drilled a hole about 1 1/4" in front of the stud mentioned above. Decided to just bolt the bracket directly to the body panel. That should give the clearance I need as well as make it unnecessary to remove, re-install and re-aim the lights each time I need to remove the front panel.