Post by Enviromoto on Jan 10, 2010 23:44:53 GMT -5
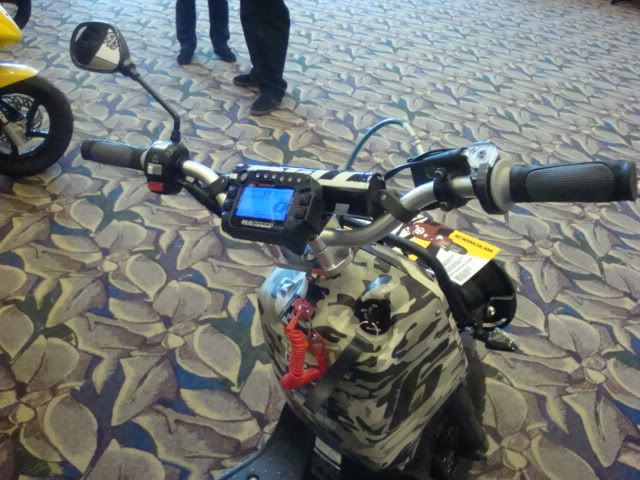
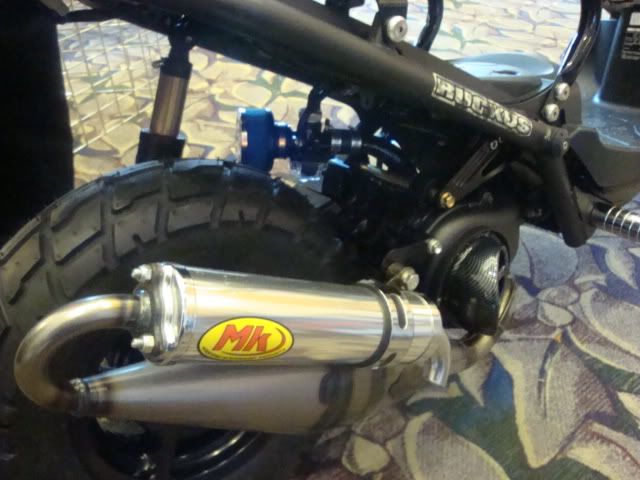
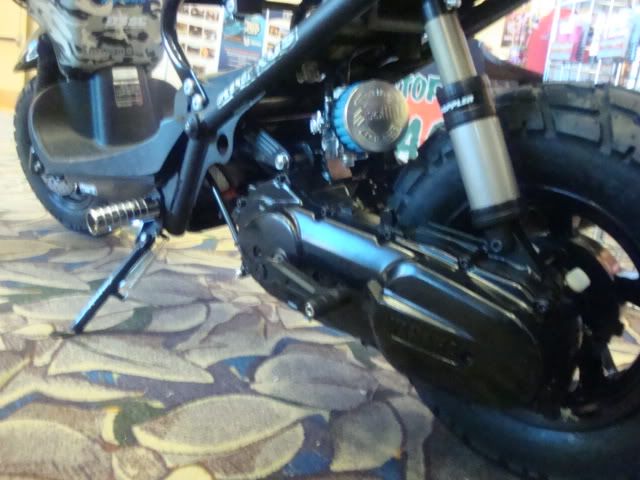
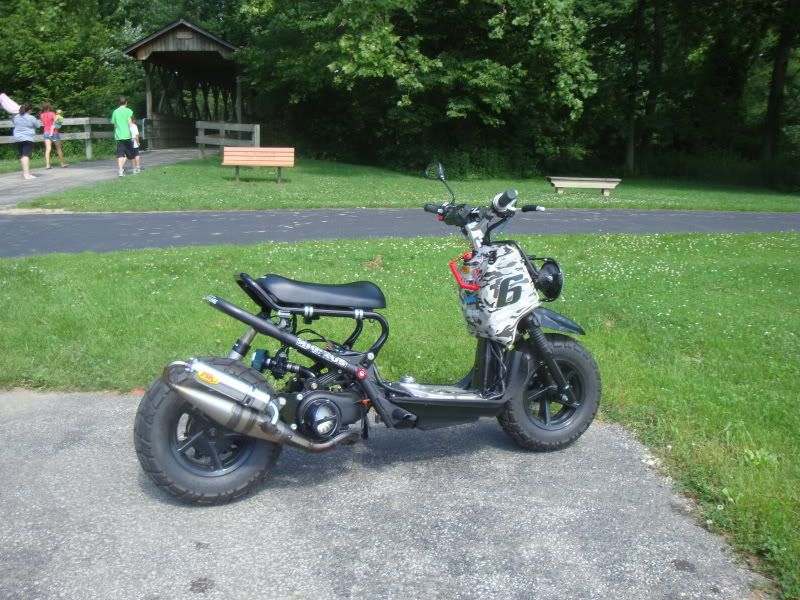
Reworked the Hamaha a bit.
Installed a ComosiMo motor mout.
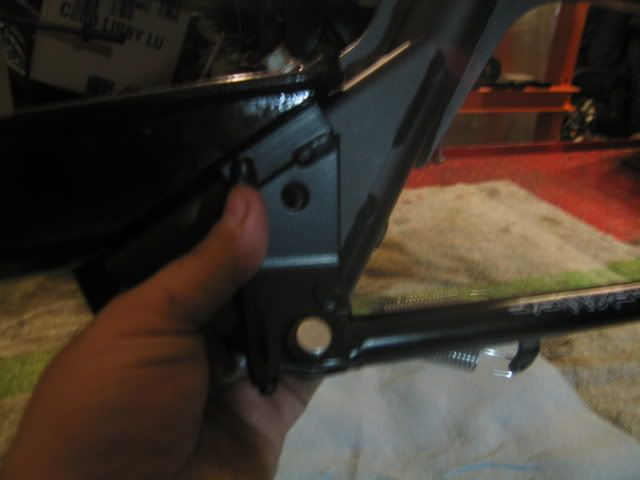
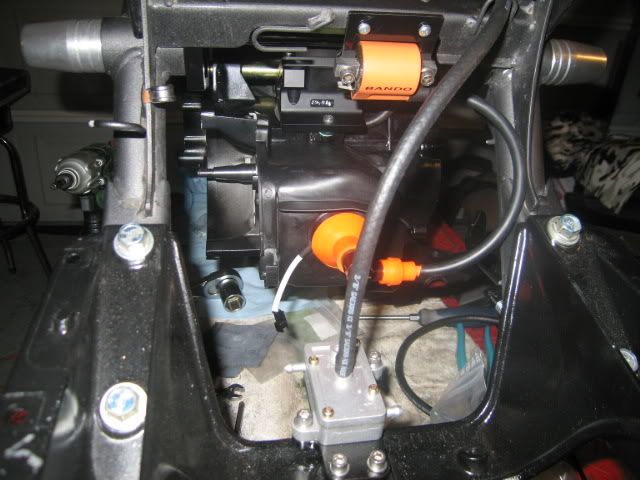
Removed the floorboard
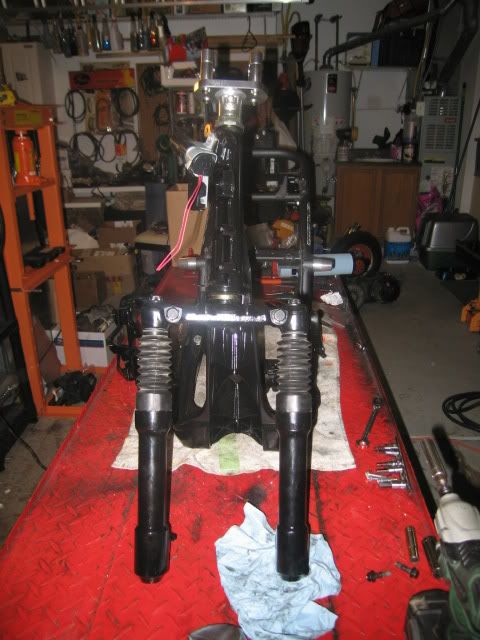
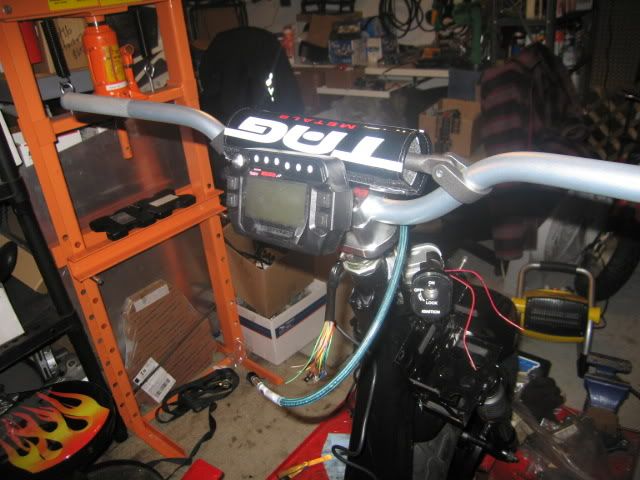
Installed a PasswordJDM steering stem
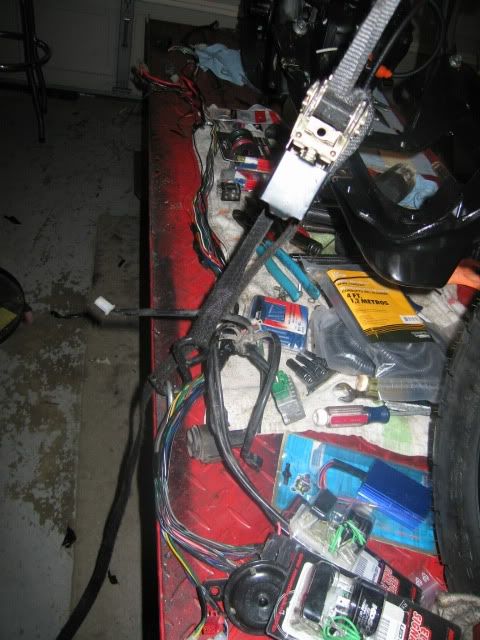
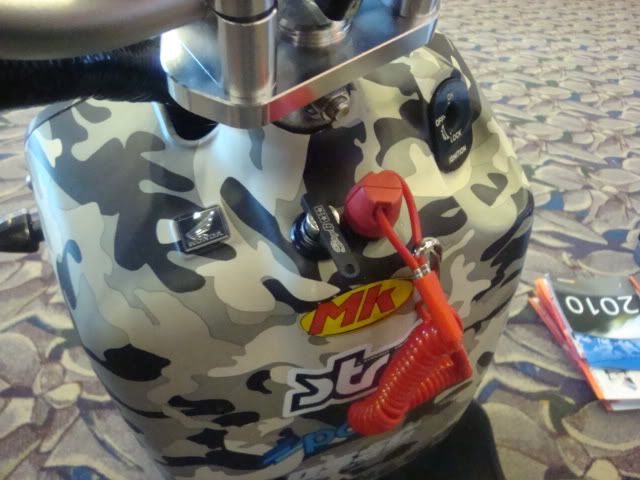
Removed the digital dash


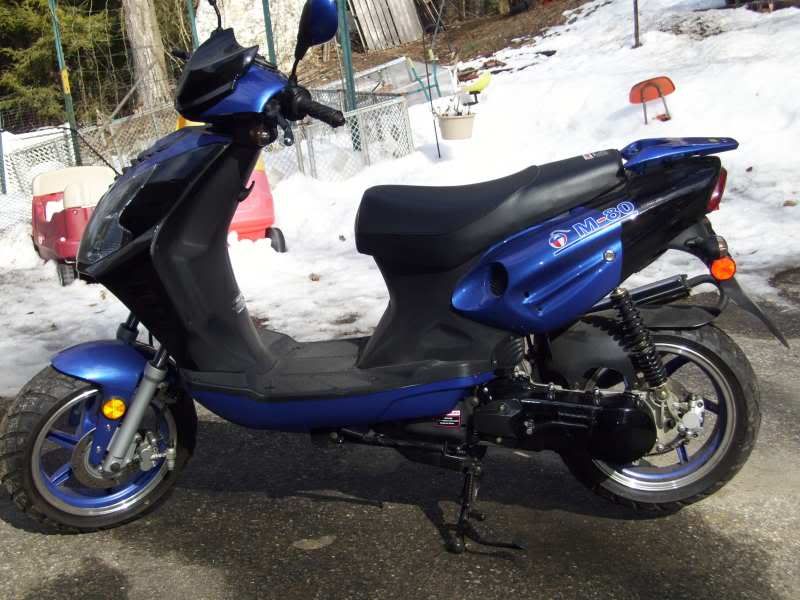
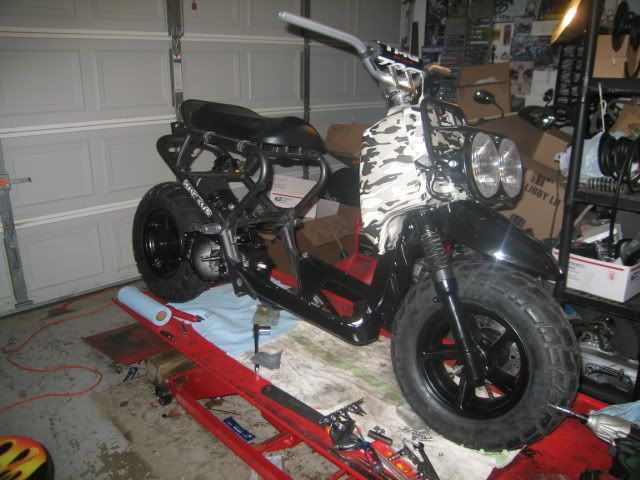
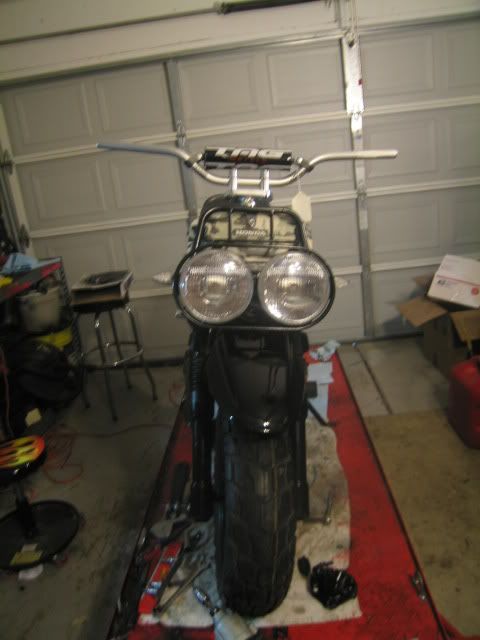
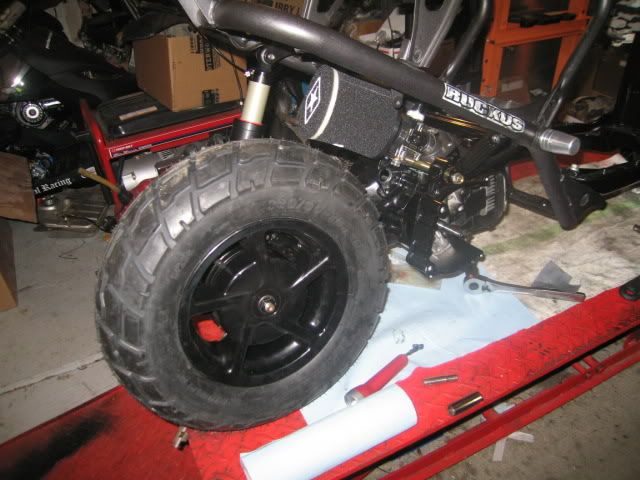
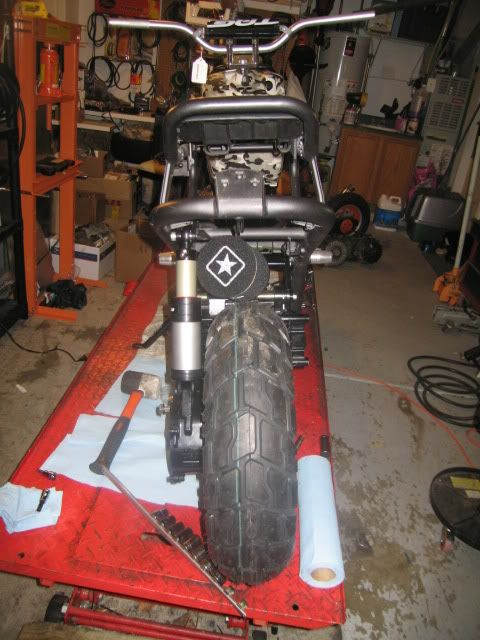
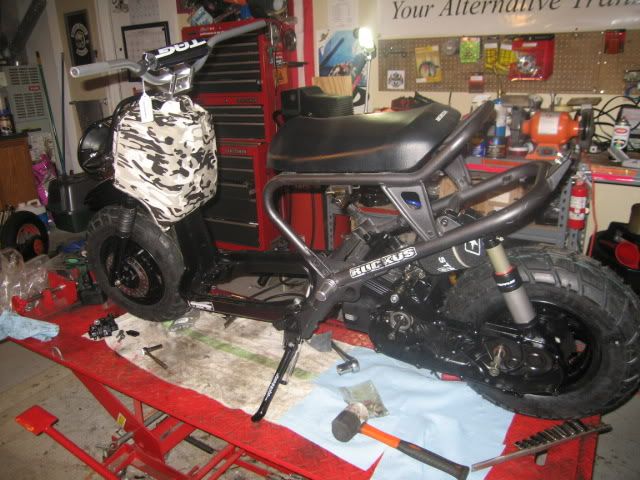
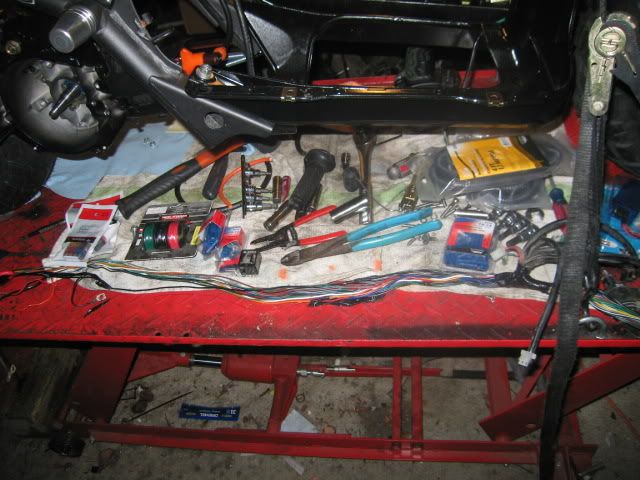
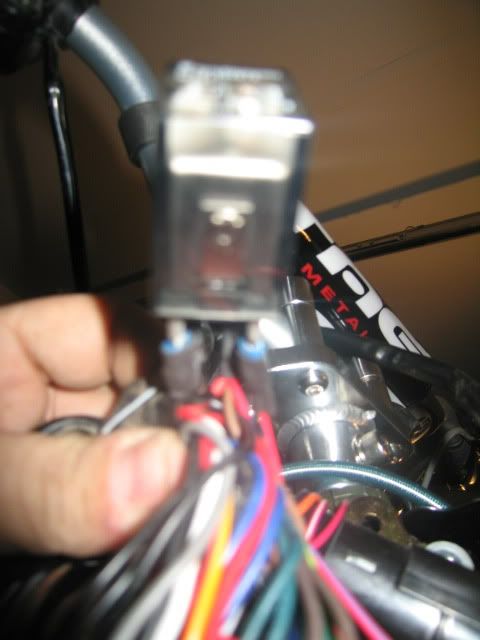
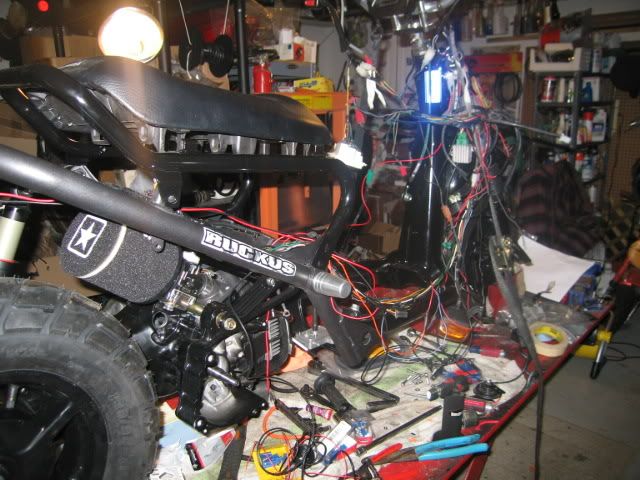
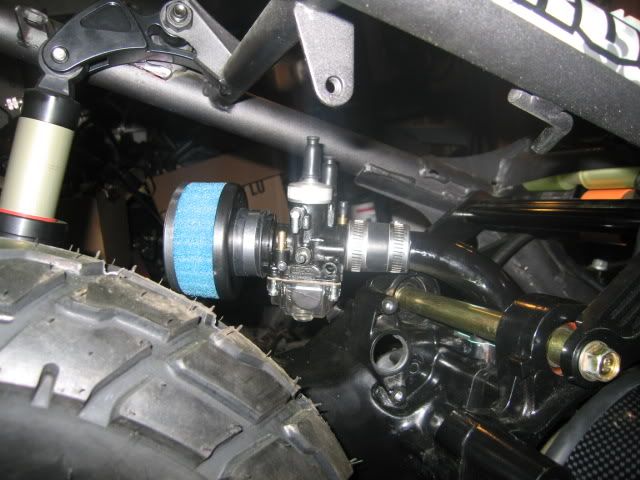
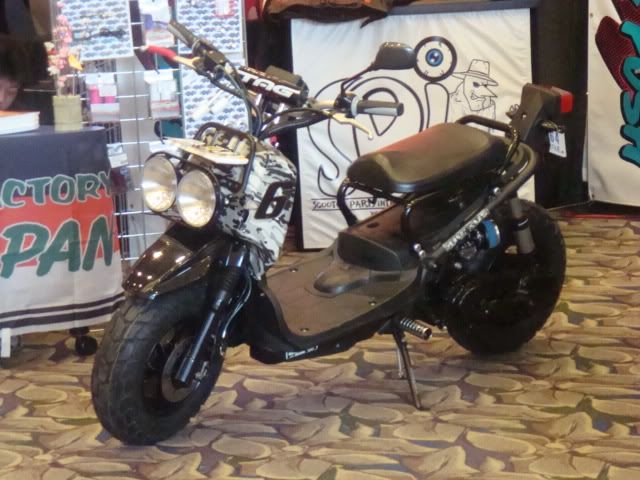
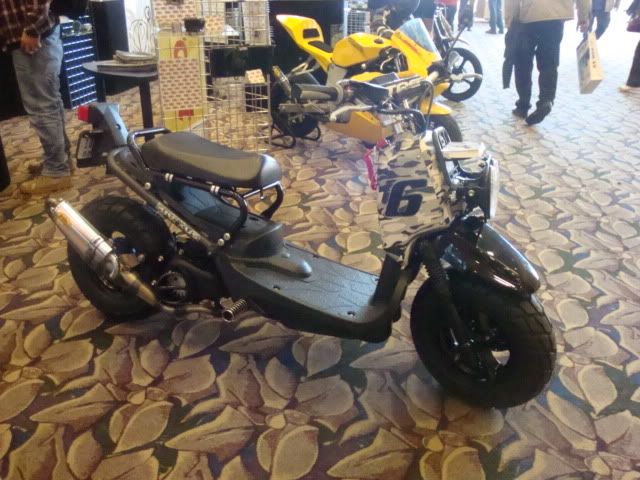
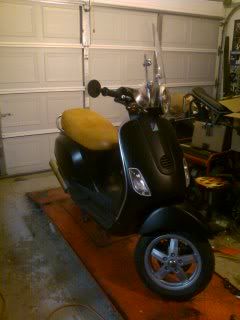
I always wanted a Ruckus but hated the limited power that can be made with the motor. 05 Zuma engine, front end, wiring, and controls bolted to a 06 Honda Ruckus. I call it the Hamaha.
Here it is in mockup.
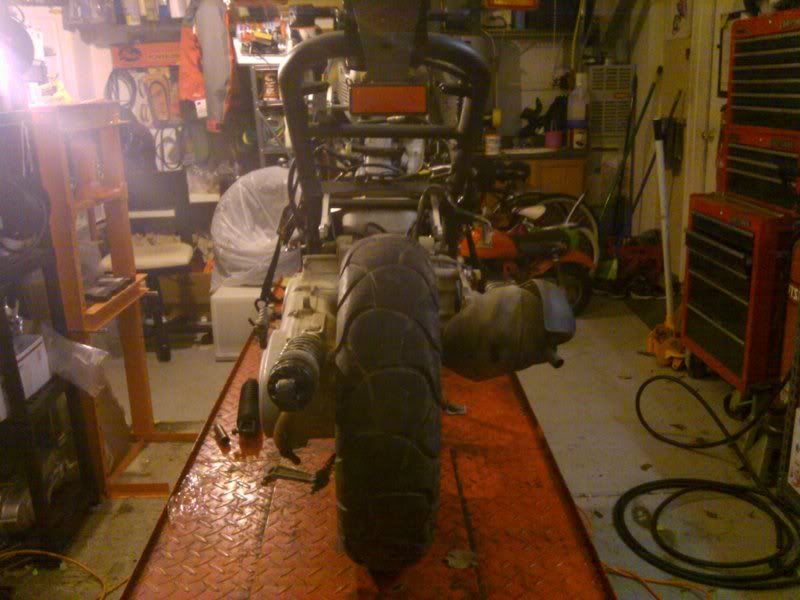
Take a little off of the Zuma motor mount and it will bolt right up.
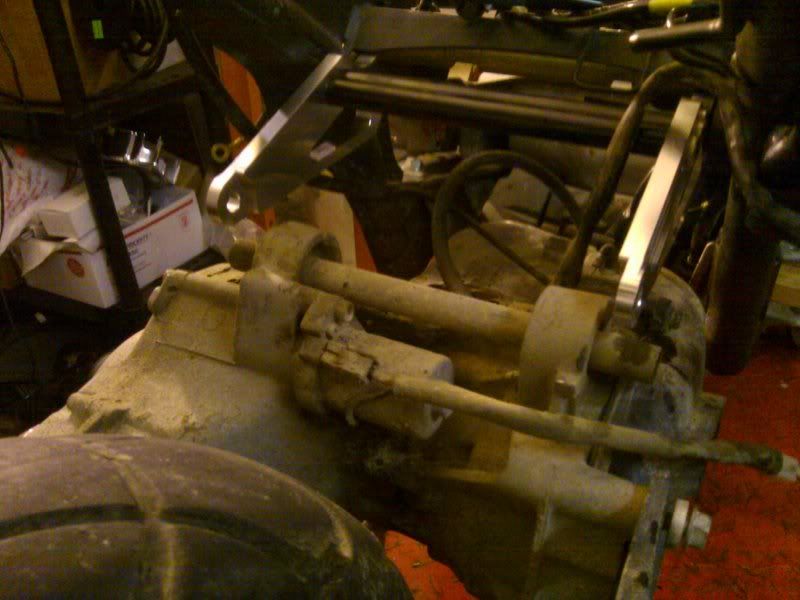
Ziiiiiiip
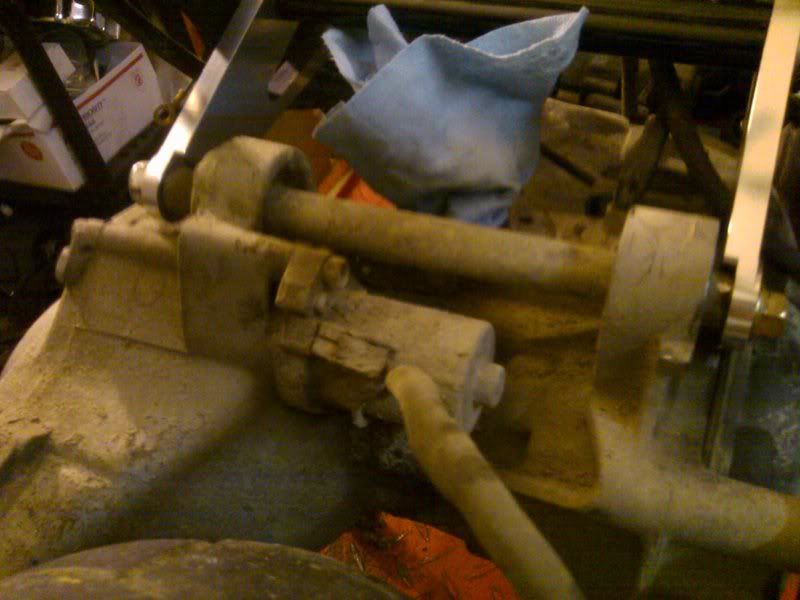
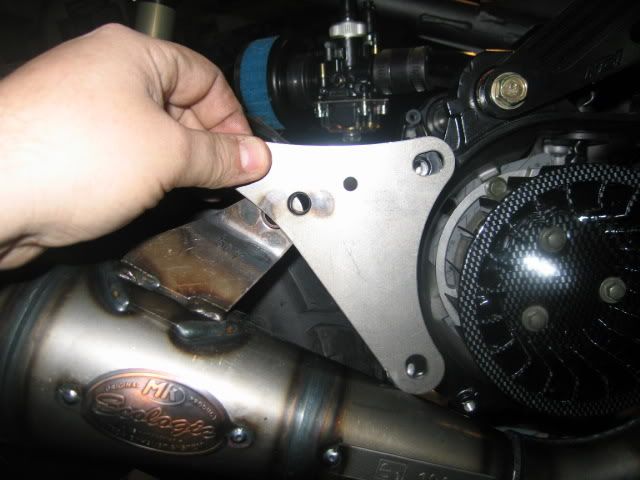
I went with a NCY extension bracket to keep it from looking to squaty.
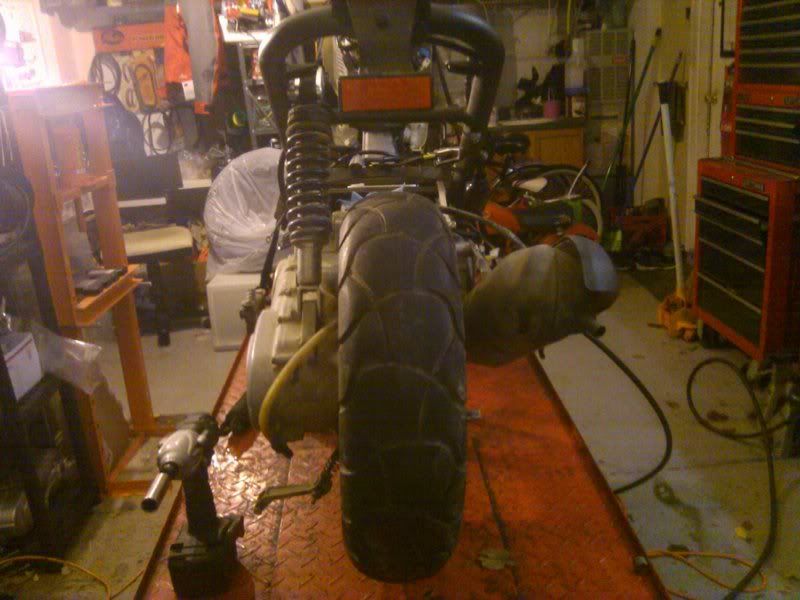
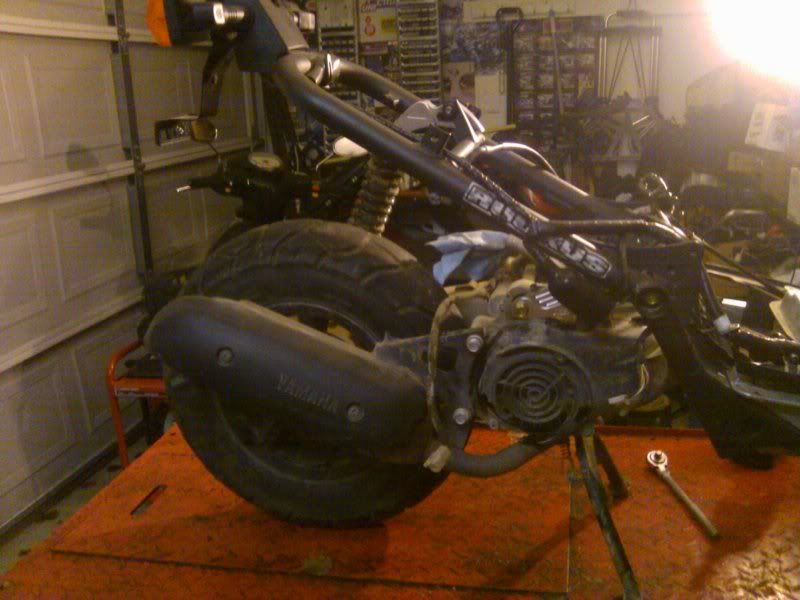
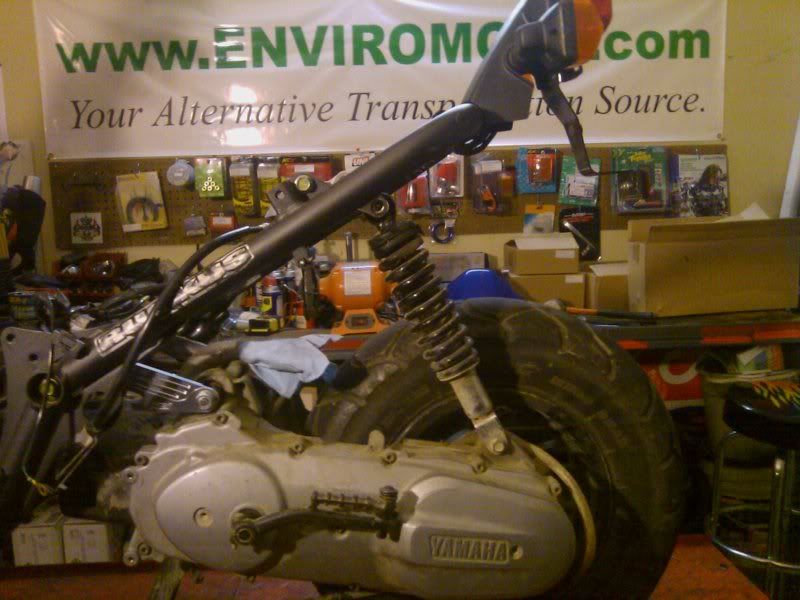
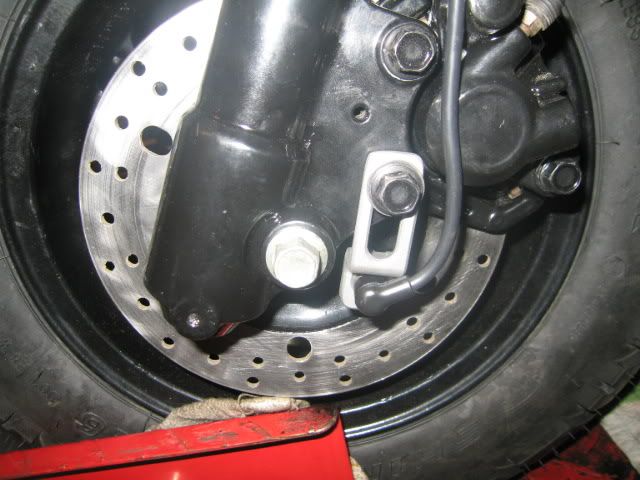
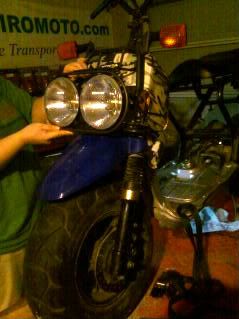
Then I swapped out the Ruckus front end for the Zuma one. All I had to do is swap over the bottom bearing race and everything lined right up. Even the steering stem threads were they exact same pitch and everything. If it was much easier it would'nt have been any fun at all. The Zuma stem is a little longer but that wont be much of a issue.
Here the engine is being torn down.
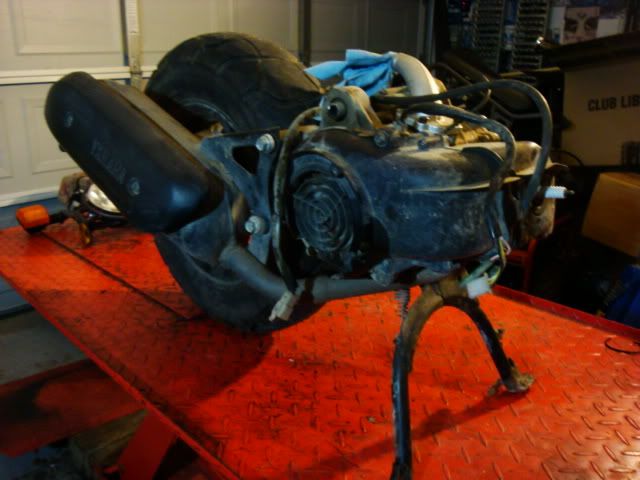
The spark plug was finger tight. Remember this Zuma had almost 14k on it and she fired first kick every time.
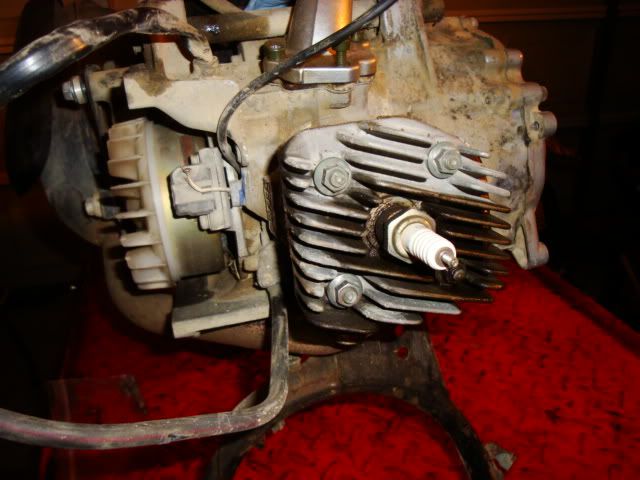
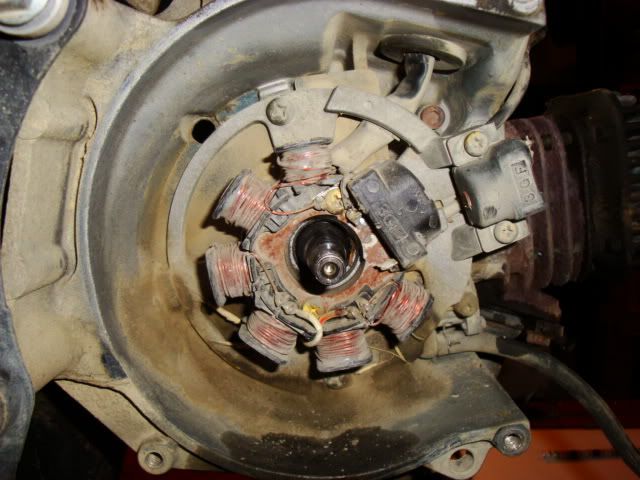
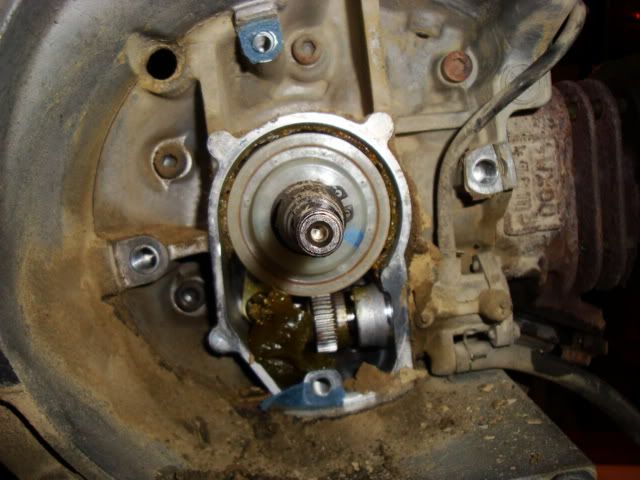
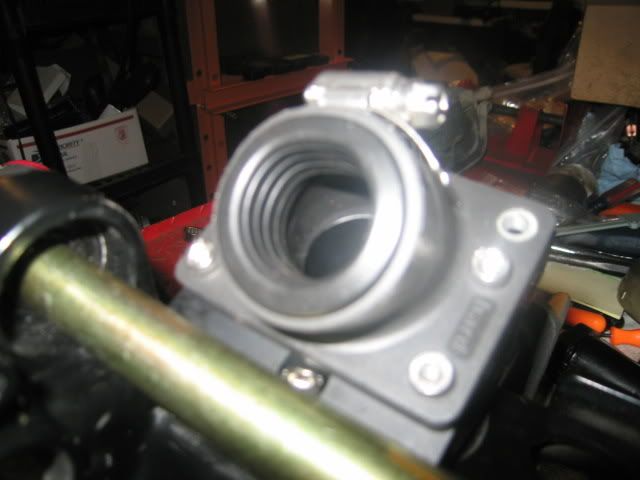
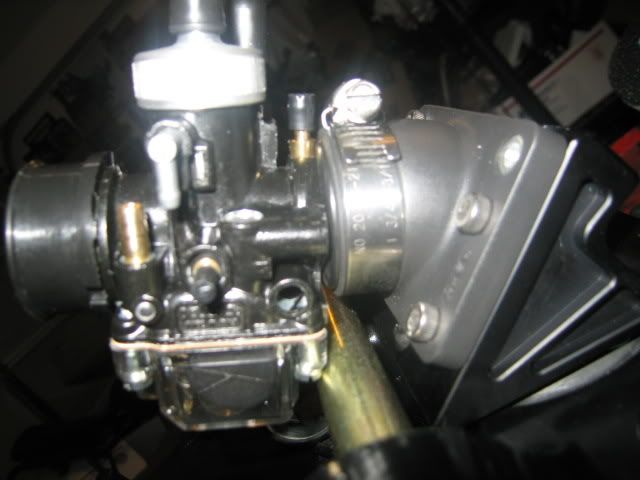
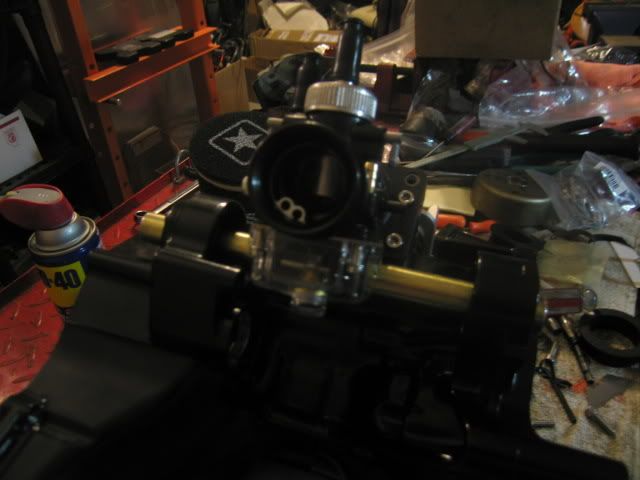
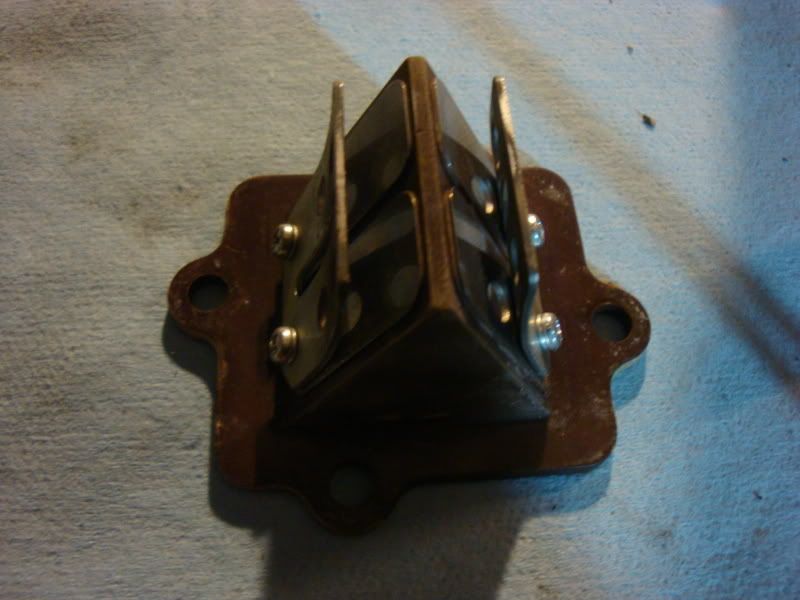
Went its whole life with the stock metal reeds.
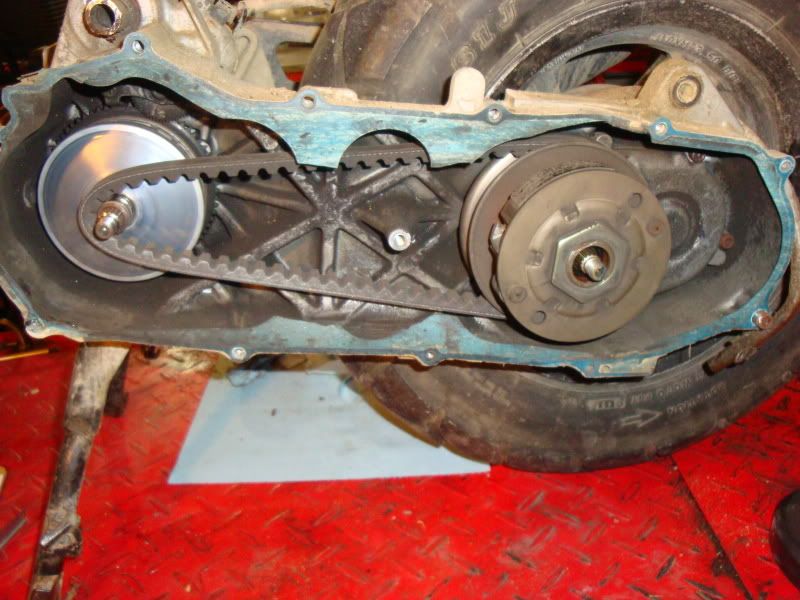
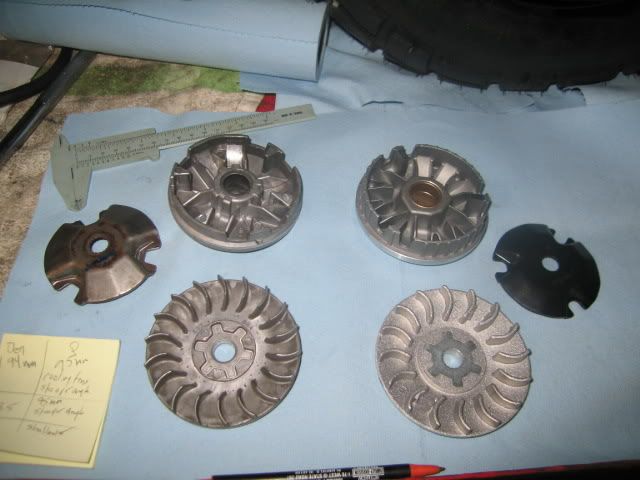
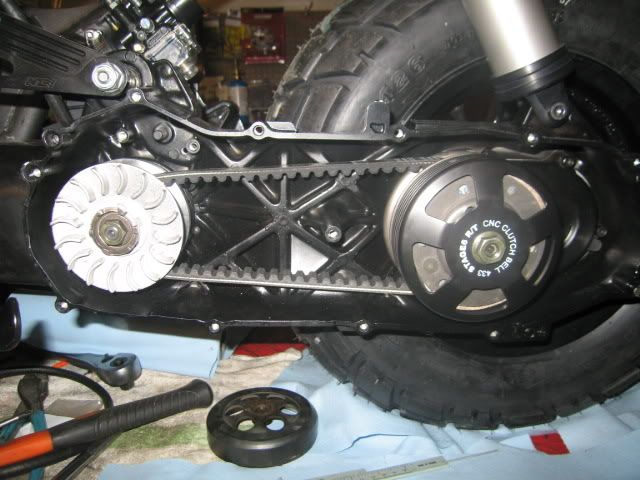
I have never seen a clutch worn down all the way down like this before.
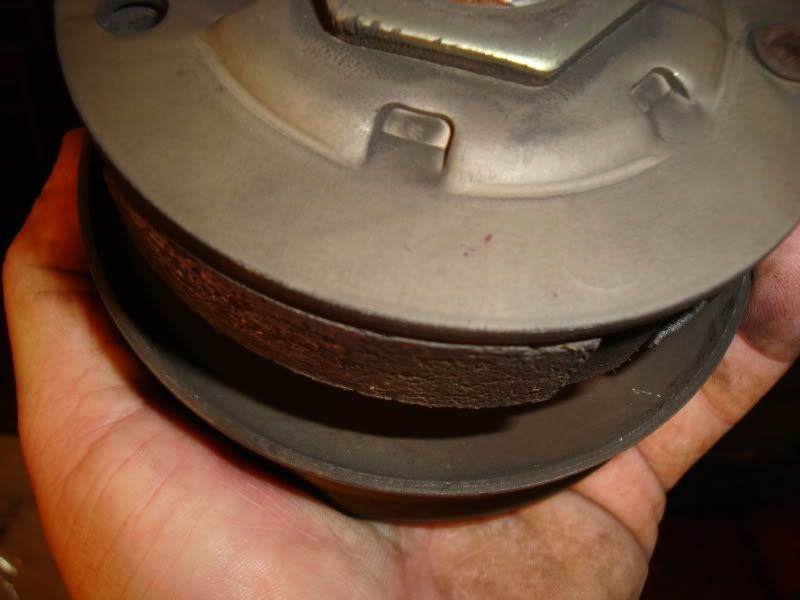
Wore down so far that it cut into the bell.
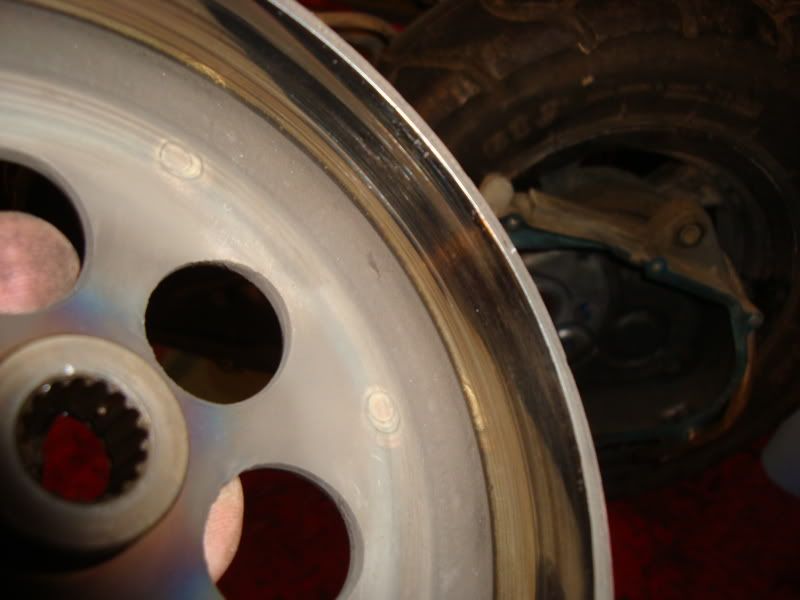
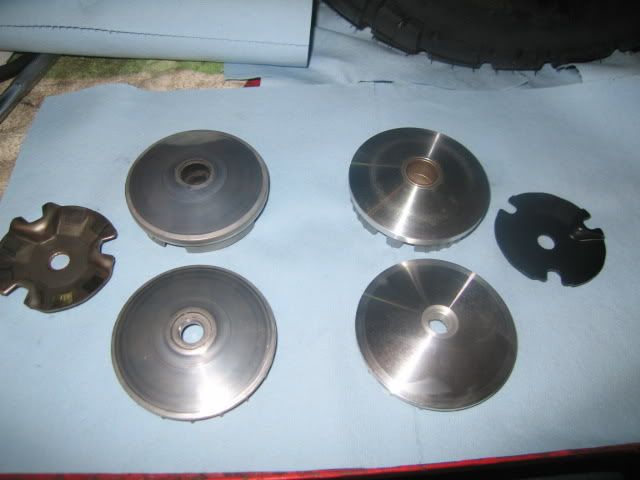
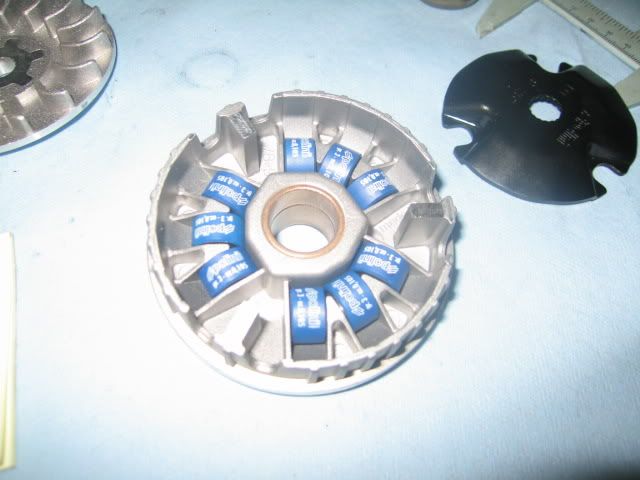
Variator looked stock and has held up well.
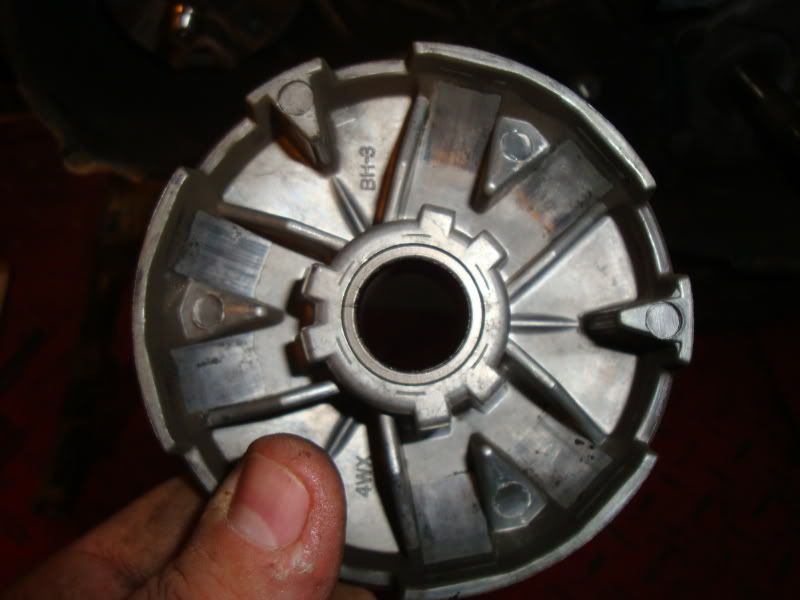
The rollers have to have been replace they look almost new.
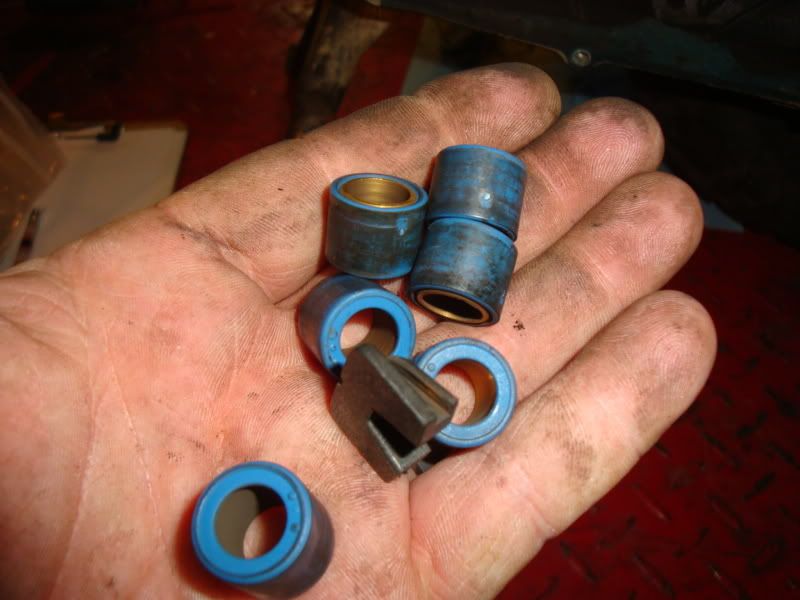
Look at the grove in the backing plate.
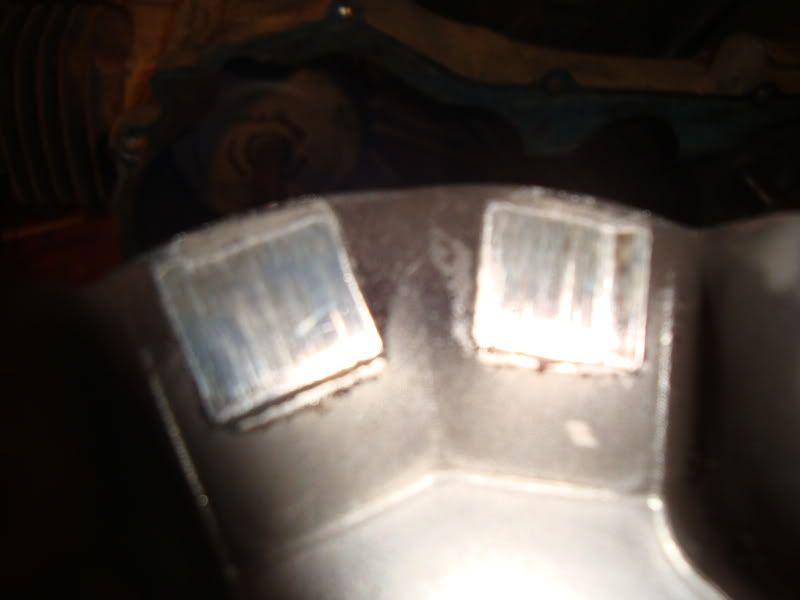
Remember this picture and what a mess this thing was when you see the finished product.
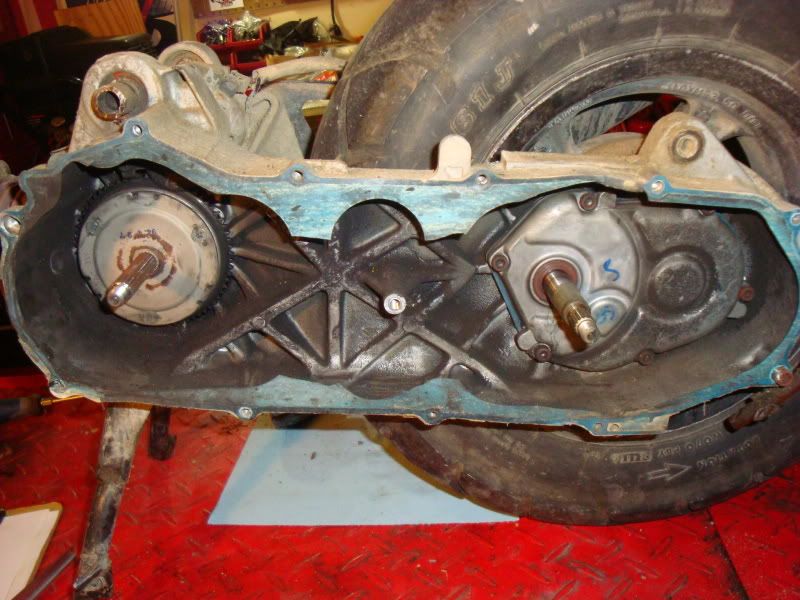
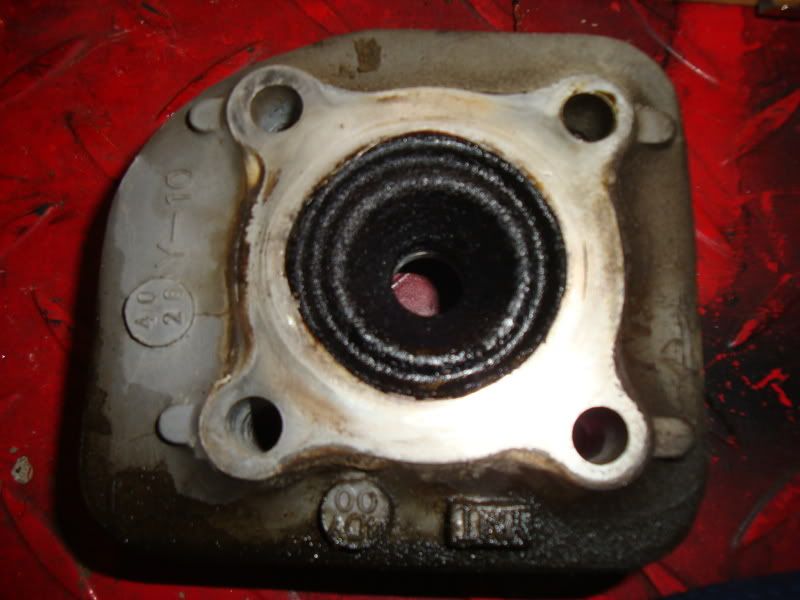
Im pretty sure this thing was never rebuilt
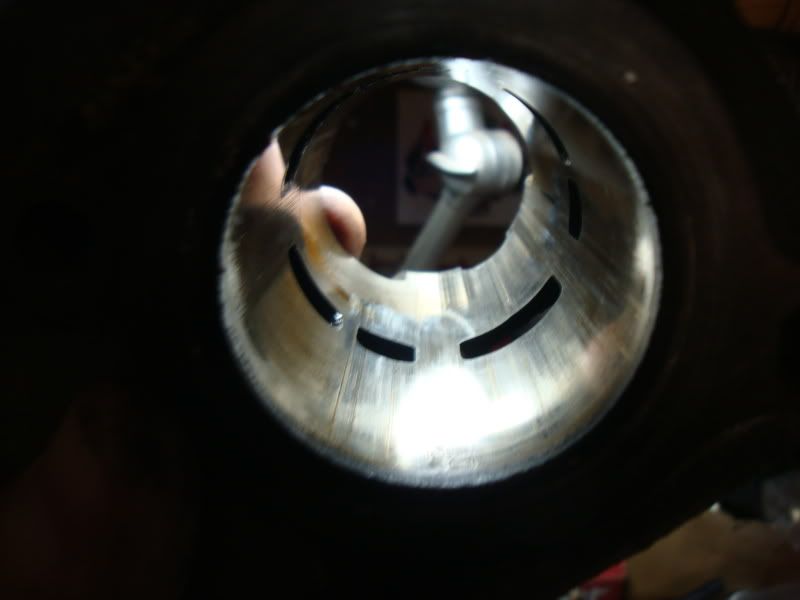
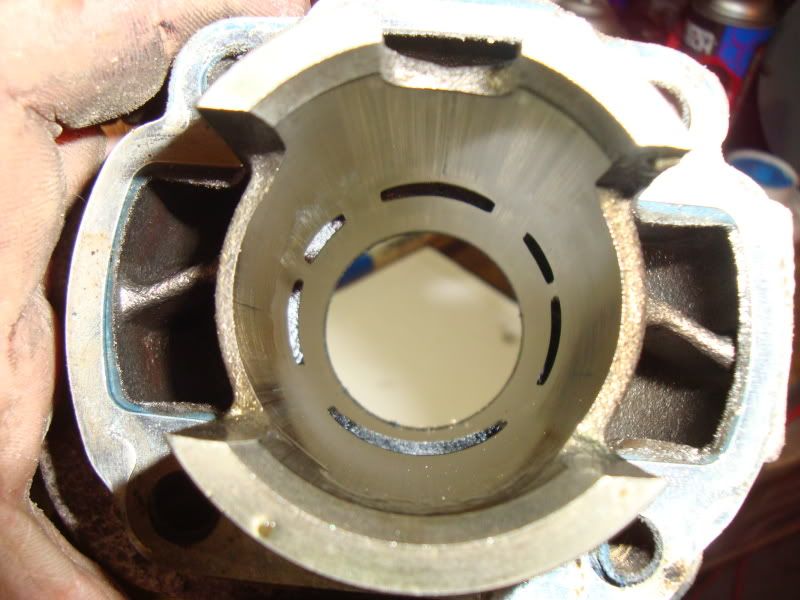
I cant believe it was still running.
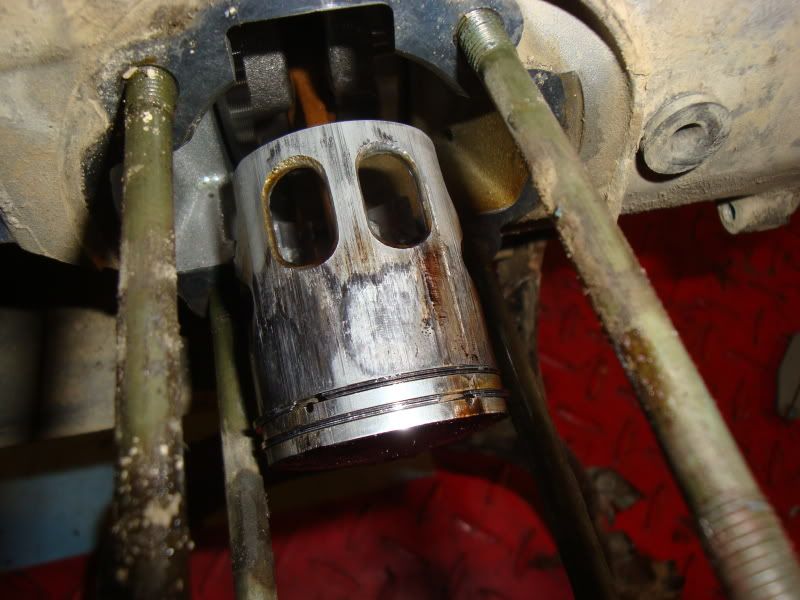
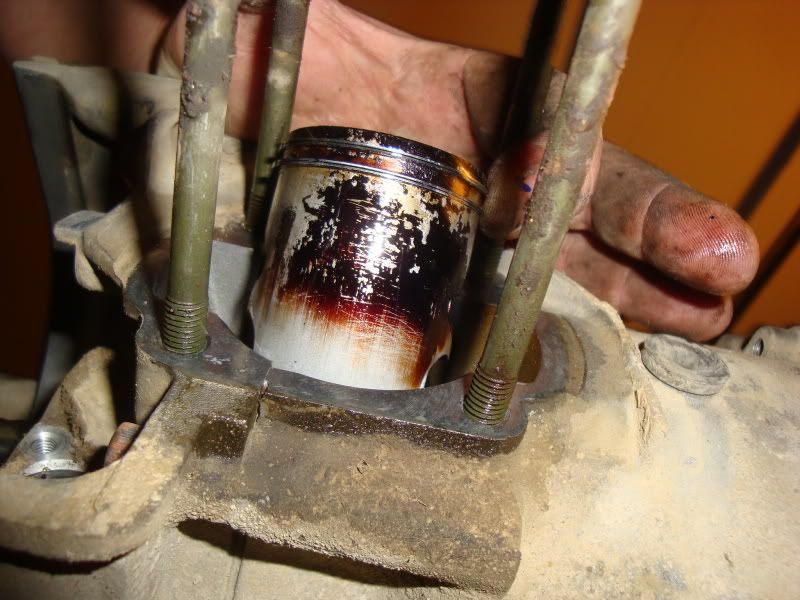
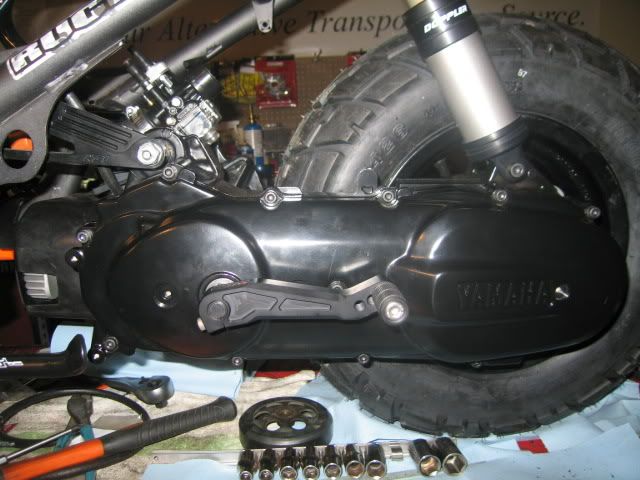
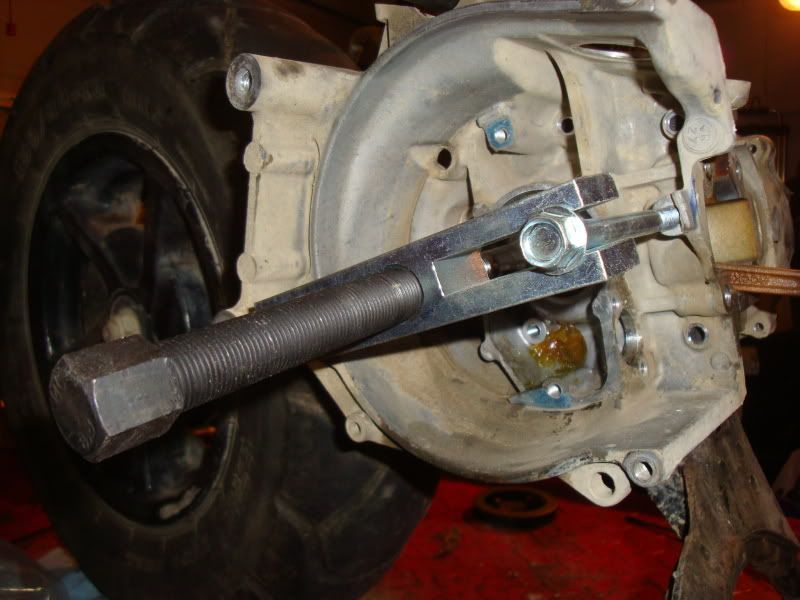
Bought the puller at Autozone. Then I just bought some longer bolts for the variator side and split the case.
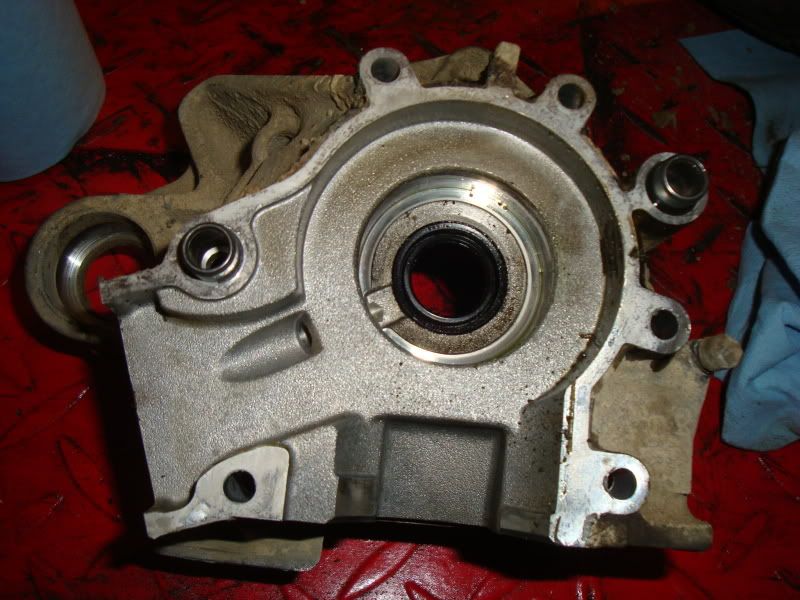
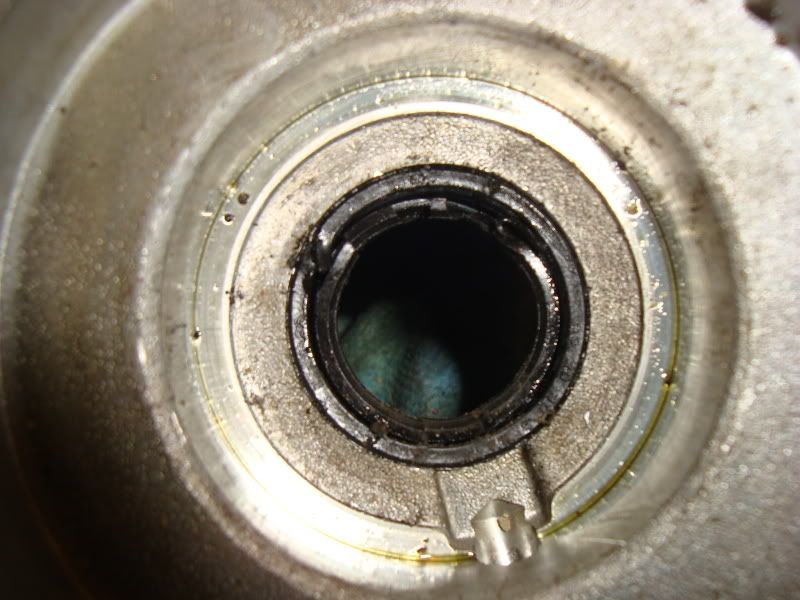
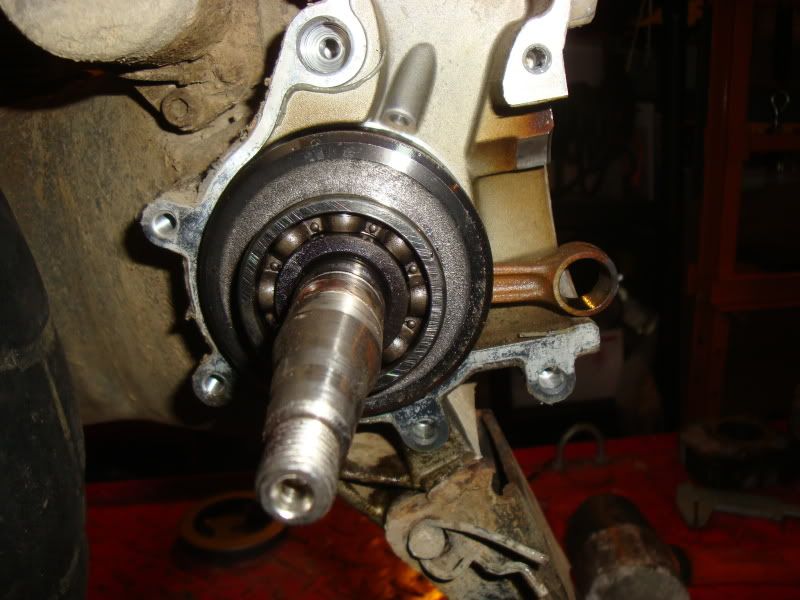
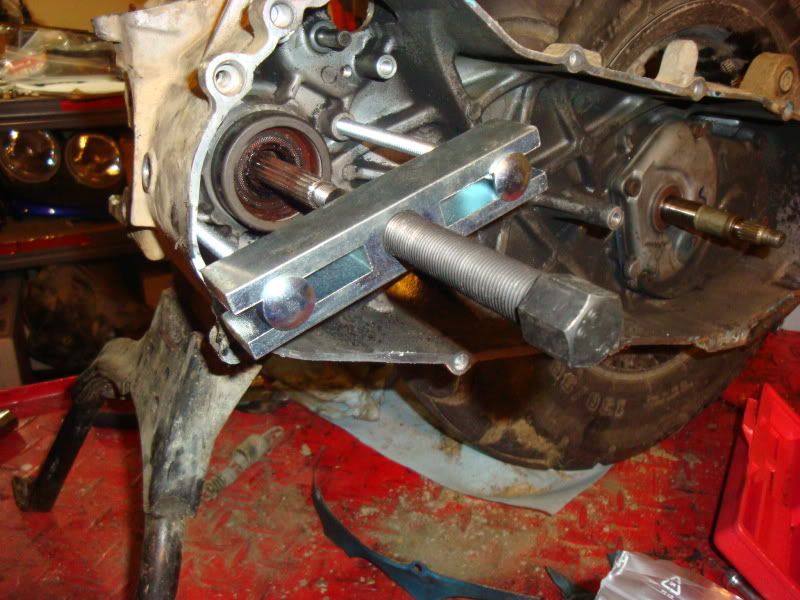
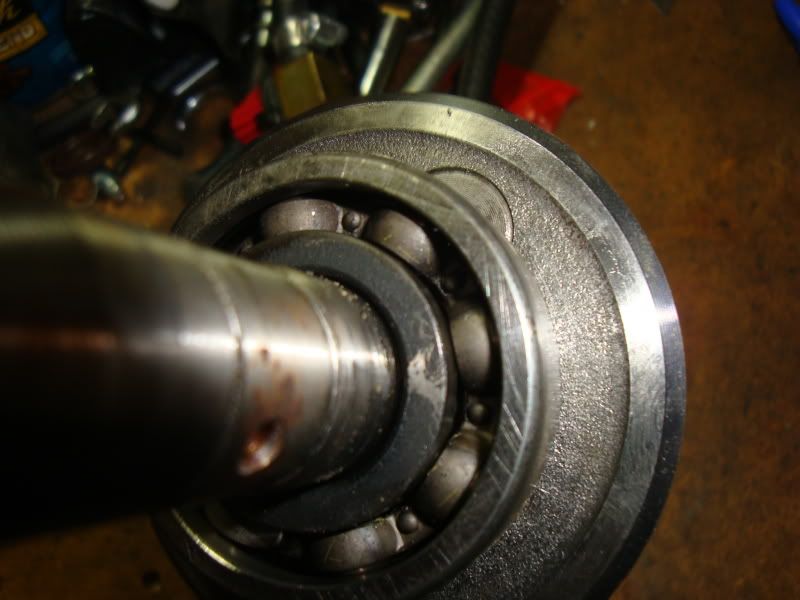
The crank itself looked ok but the bearings are shot.
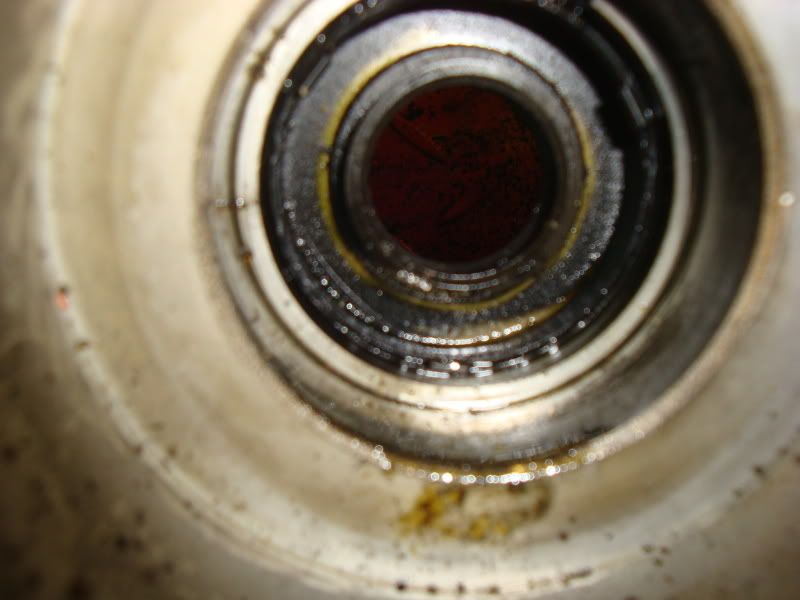
Removed a couple small brackets
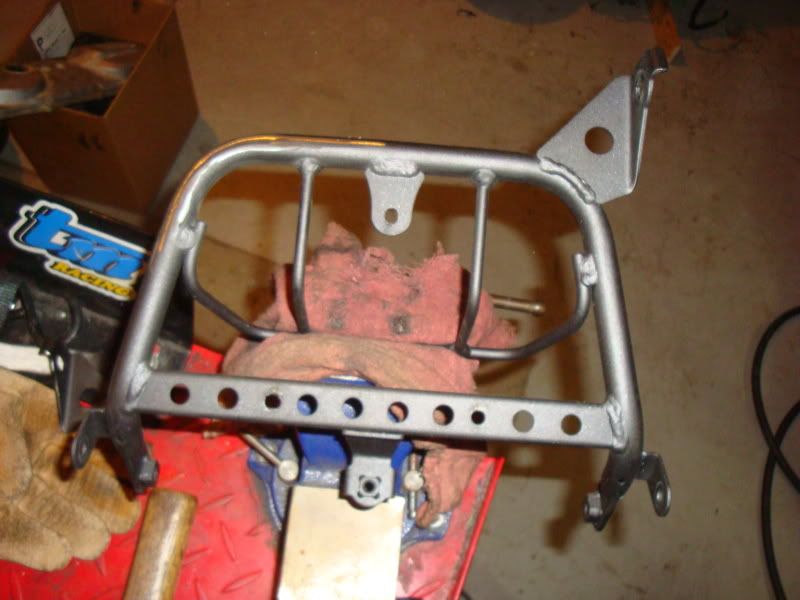
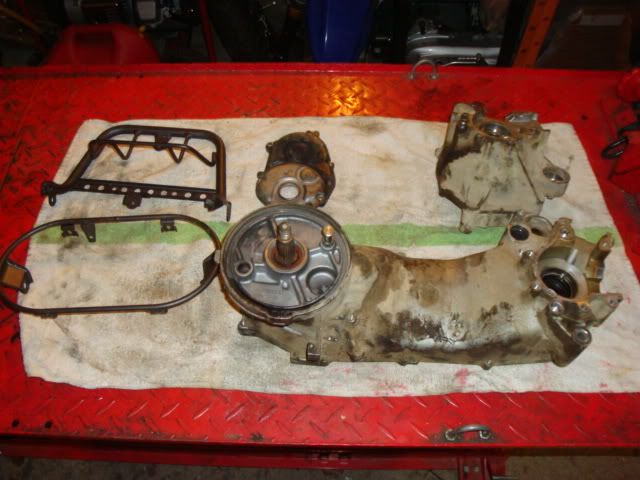
Media blasted (walnut shells)
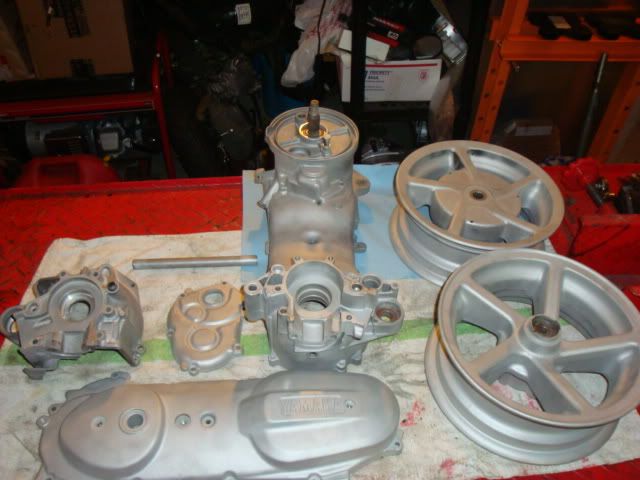
Powdercoat
Ready to go in the oven.
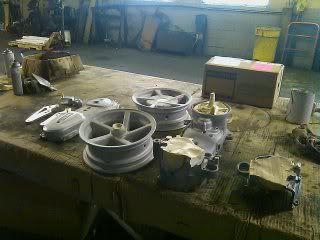
On the rack.
Presto!
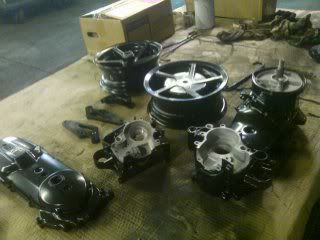
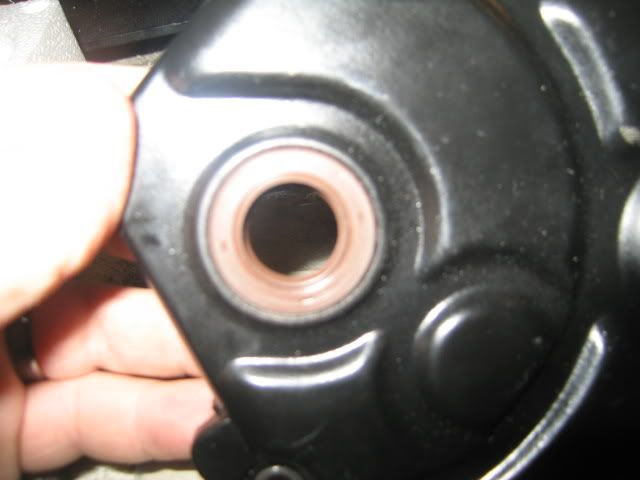
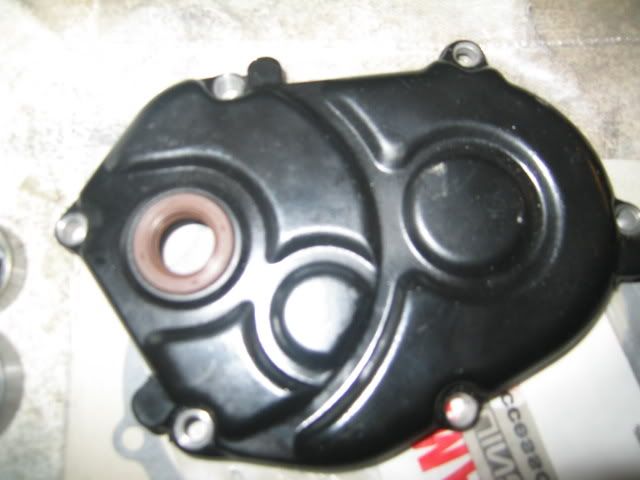
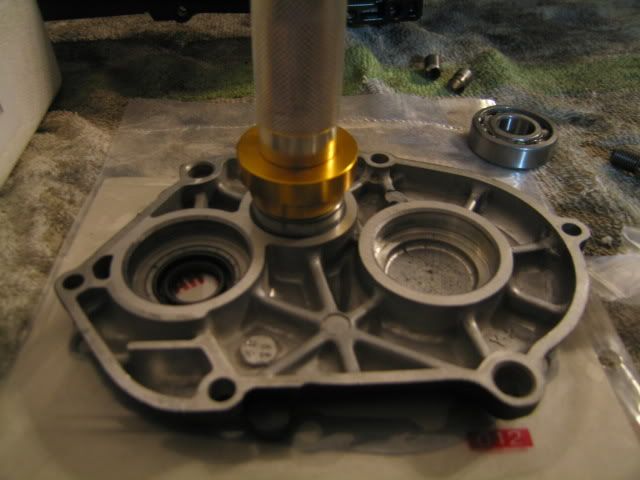
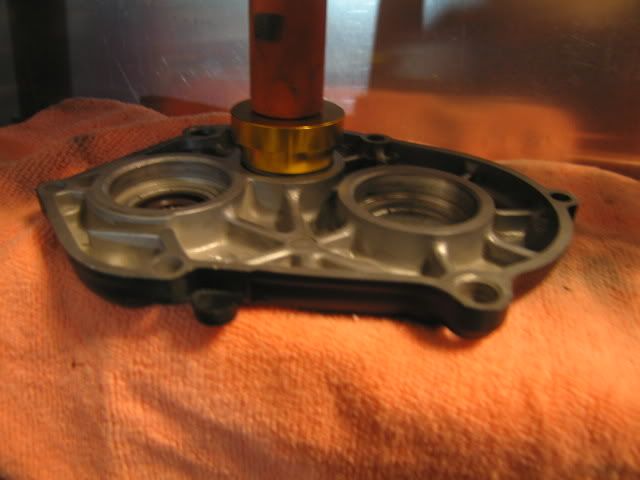
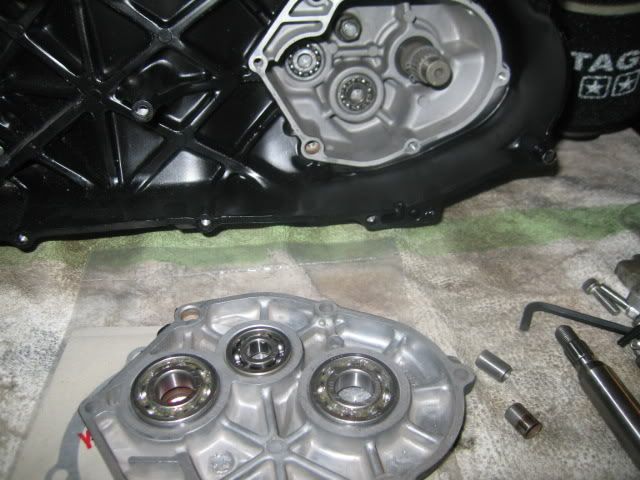
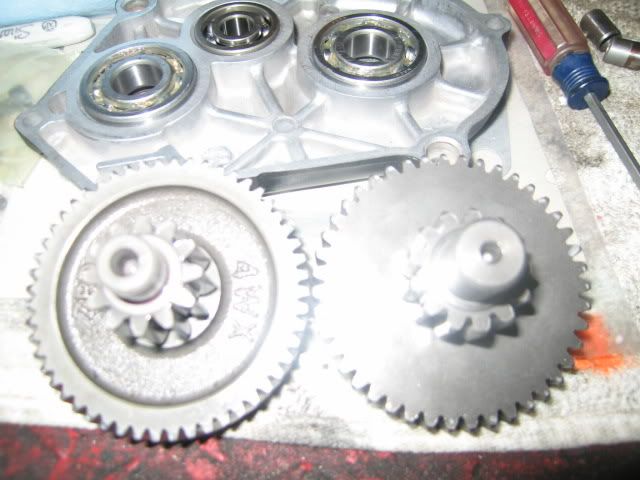
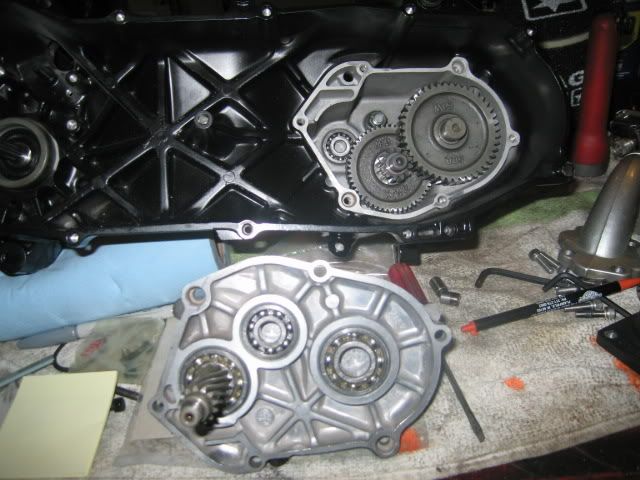
Had to do a little clean up on the cases and remove the bearings and then I was ready for a little paint.
Welcome to the Overspray Cafe

Prepped and taped.

It was so cold in the shop I had to use my heater to keep the parts warm so the paint would stick.


Then a knock on the door, ups.

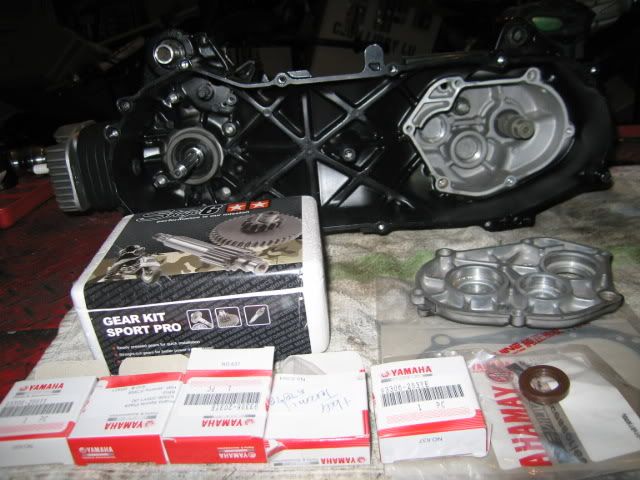
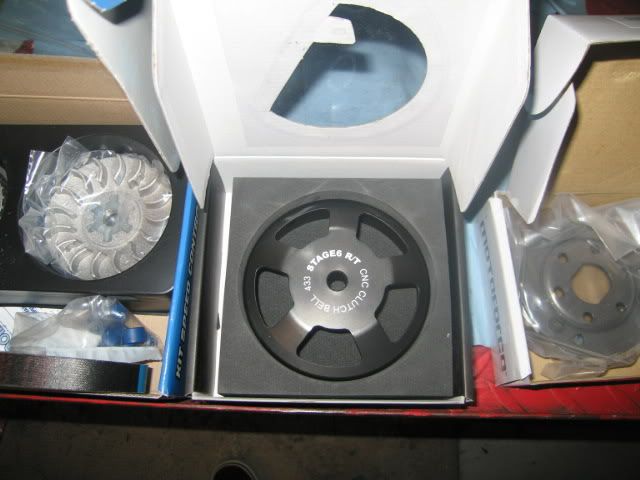
Parts here!


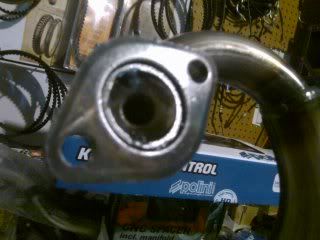
Metrakit Ecologic
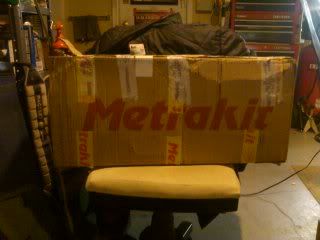
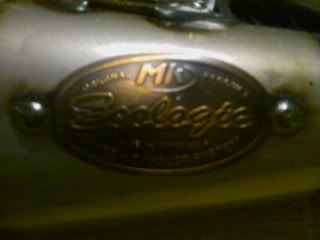
Cant imagine where the restriction could be...
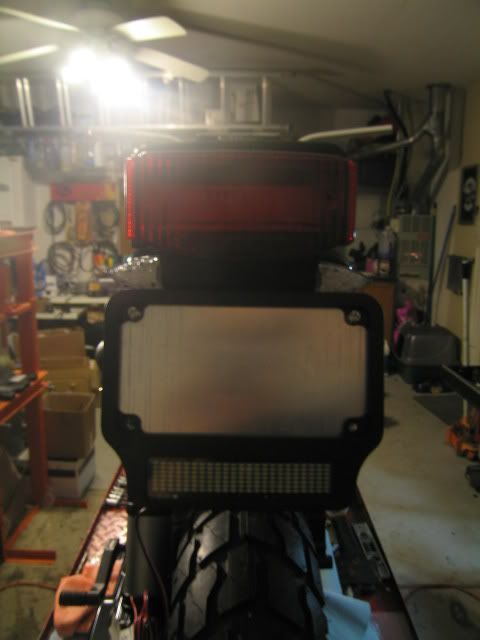
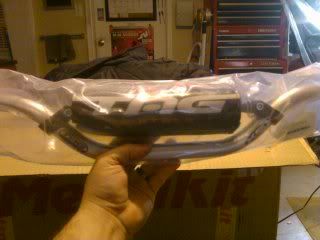
Tag bars
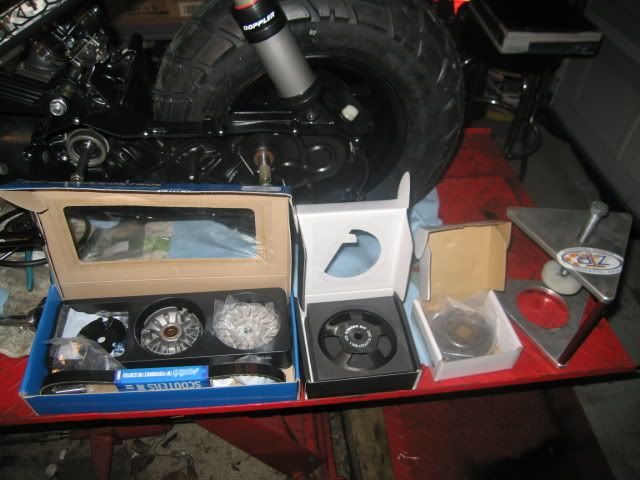
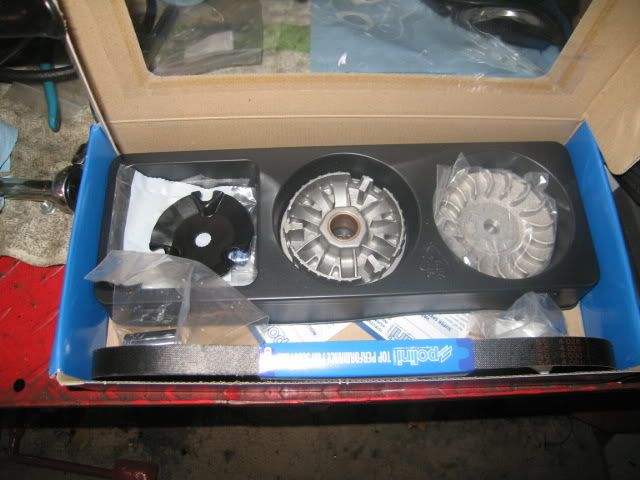
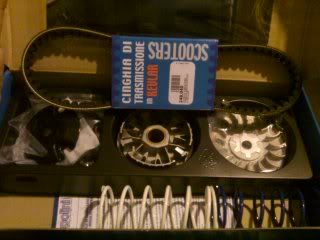
Polini 9 roller speed kit
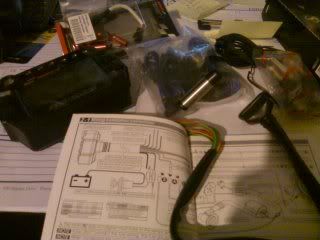
Koso Digital RS Dyno
What it does:
MPH in mph or kph
RPM with over rev light adjustable
Fuel gauge
Temp gauge with adapter to fit on the spark plug
Clock
It has the standard issue LCD screen with all the wizbang you would expect however it has a added bonus.
POWER TEST!
It records acceleration, top speed, distance timer. That way when you make change to the engine or variator you can document exactly what the improvements did!
I installed some crank bearings today and thought I would share the process.
Step 1:
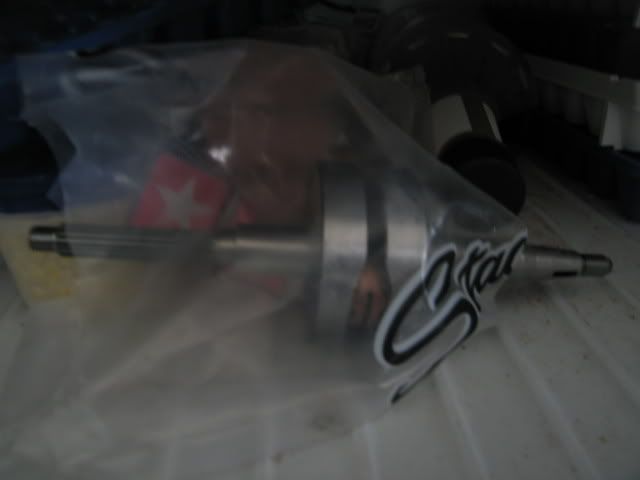
Freeze crank overnight.
Step 2:
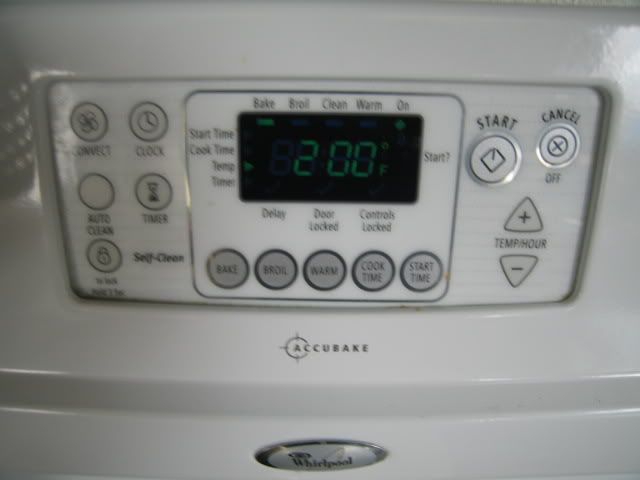
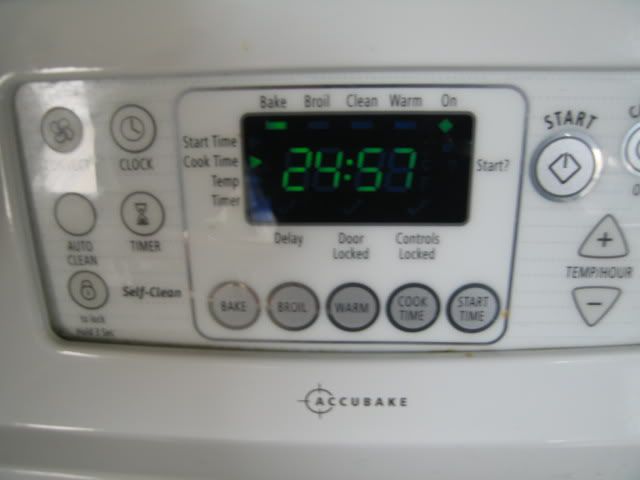
Preheat oven to 200
Step 3:
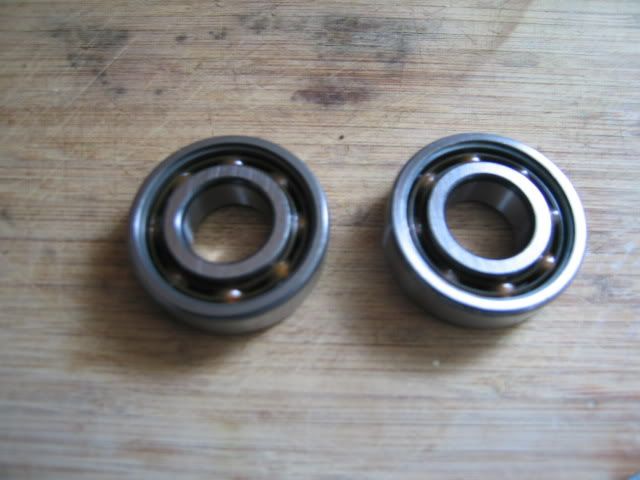
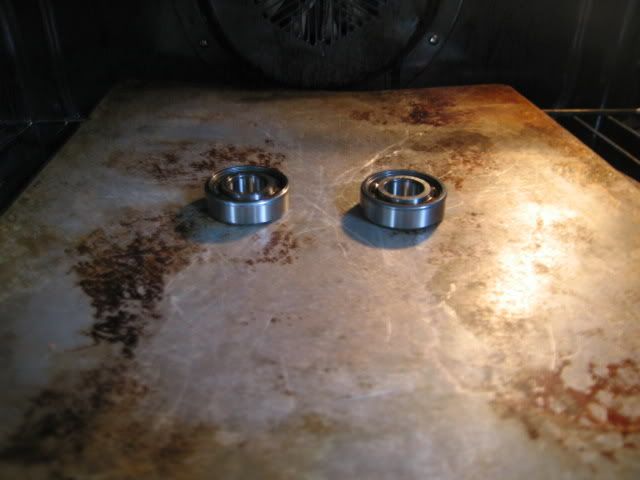
Take bearings and place in oven for 25 minutes.
Step 4:
Remove crank from freezer after the bearings are done heating up.

Step 5:
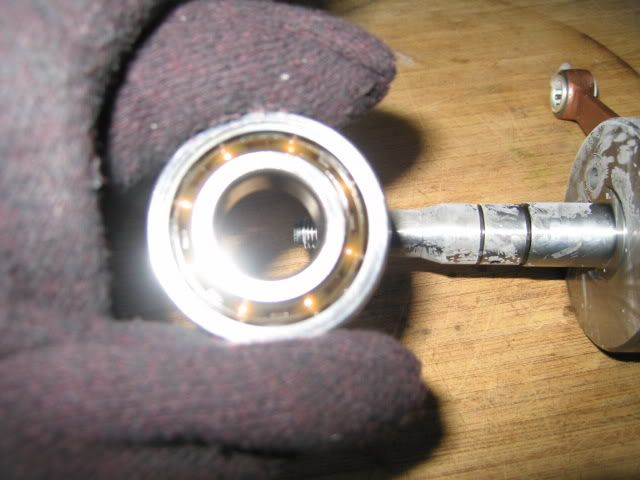
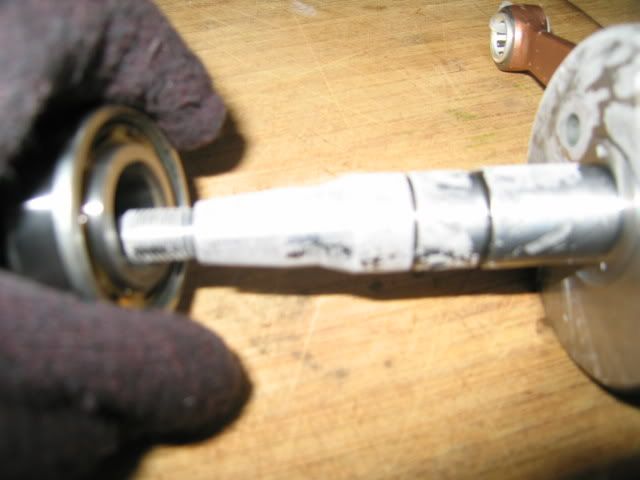
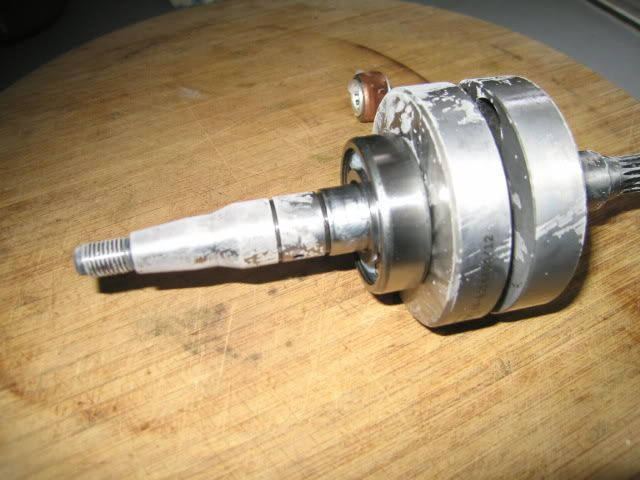
Remove bearings from oven 1 at a time and slide onto crankshaft. If this is done correctly no tools are needed. Also note that these are polymer cage bearings and the open side needs to face away from the crank web.
Step 6:
Repeat on other side.
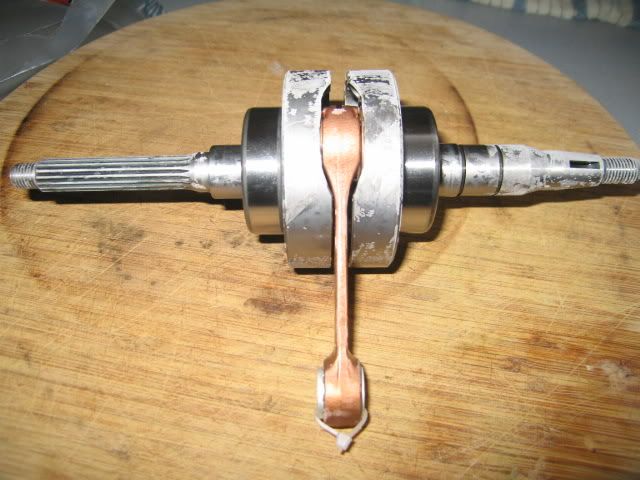
Matched up the port transfers a little bit.
Rough cut with dremel
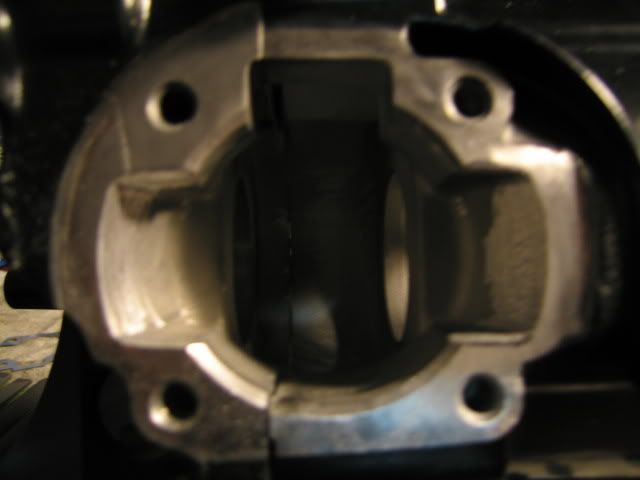
After about a hour of filing and sanding most of the material is gone.
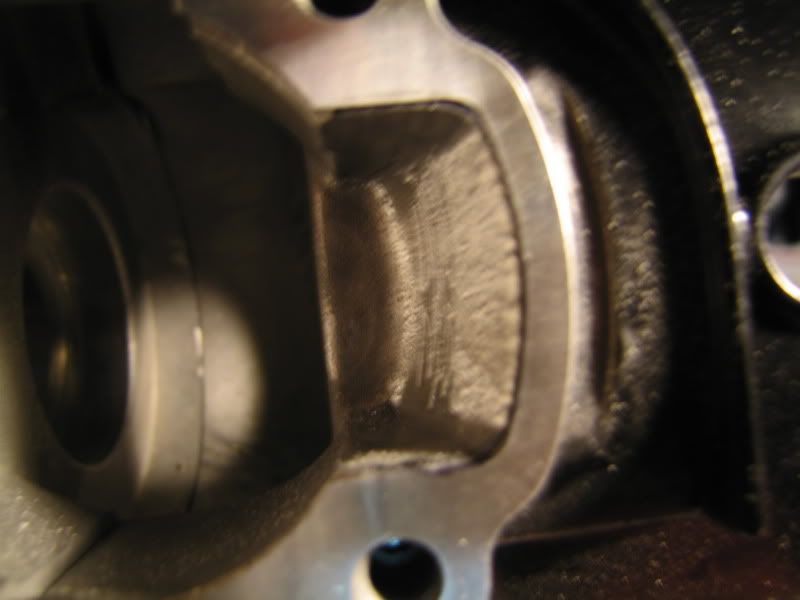
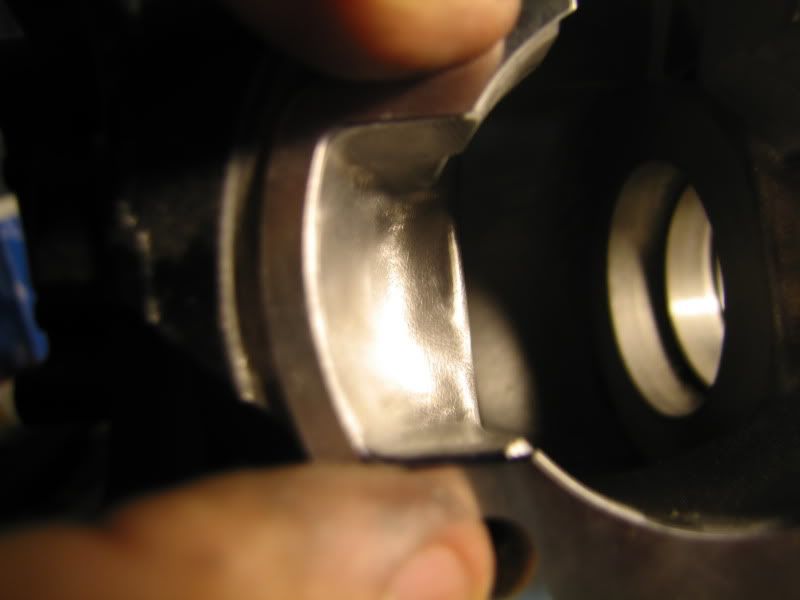
Left side is done
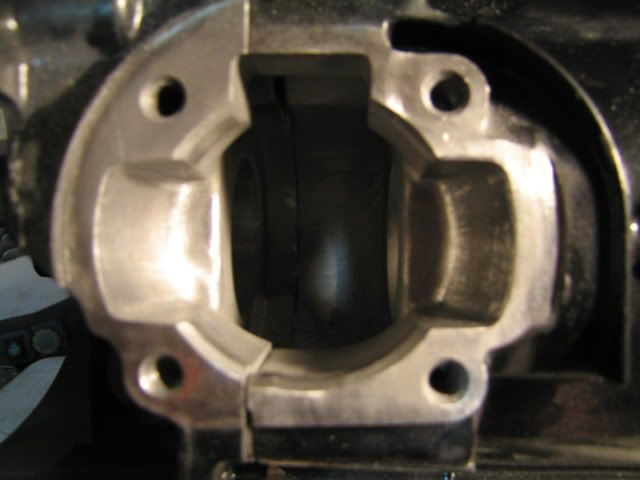
Right side is done

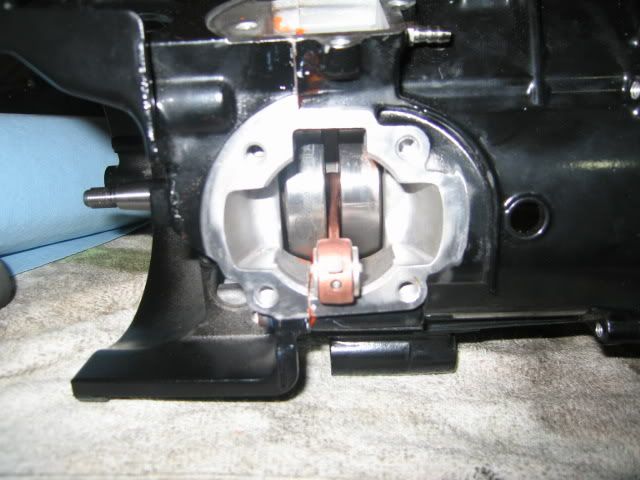
Next crankshaft installation.
Installed a ComosiMo motor mout.
Removed the floorboard
Installed a PasswordJDM steering stem
Removed the digital dash


I always wanted a Ruckus but hated the limited power that can be made with the motor. 05 Zuma engine, front end, wiring, and controls bolted to a 06 Honda Ruckus. I call it the Hamaha.
Here it is in mockup.

Take a little off of the Zuma motor mount and it will bolt right up.

Ziiiiiiip

I went with a NCY extension bracket to keep it from looking to squaty.


Then I swapped out the Ruckus front end for the Zuma one. All I had to do is swap over the bottom bearing race and everything lined right up. Even the steering stem threads were they exact same pitch and everything. If it was much easier it would'nt have been any fun at all. The Zuma stem is a little longer but that wont be much of a issue.


Here the engine is being torn down.

The spark plug was finger tight. Remember this Zuma had almost 14k on it and she fired first kick every time.


Went its whole life with the stock metal reeds.


I have never seen a clutch worn down all the way down like this before.

Wore down so far that it cut into the bell.

Variator looked stock and has held up well.

The rollers have to have been replace they look almost new.

Look at the grove in the backing plate.

Remember this picture and what a mess this thing was when you see the finished product.


Im pretty sure this thing was never rebuilt


I cant believe it was still running.


Bought the puller at Autozone. Then I just bought some longer bolts for the variator side and split the case.


The crank itself looked ok but the bearings are shot.


Removed a couple small brackets


Media blasted (walnut shells)

Powdercoat
Ready to go in the oven.

On the rack.

Presto!

Had to do a little clean up on the cases and remove the bearings and then I was ready for a little paint.
Welcome to the Overspray Cafe

Prepped and taped.

It was so cold in the shop I had to use my heater to keep the parts warm so the paint would stick.


Then a knock on the door, ups.

Parts here!


Metrakit Ecologic


Cant imagine where the restriction could be...

Tag bars

Polini 9 roller speed kit


Koso Digital RS Dyno
What it does:
MPH in mph or kph
RPM with over rev light adjustable
Fuel gauge
Temp gauge with adapter to fit on the spark plug
Clock
It has the standard issue LCD screen with all the wizbang you would expect however it has a added bonus.
POWER TEST!
It records acceleration, top speed, distance timer. That way when you make change to the engine or variator you can document exactly what the improvements did!
I installed some crank bearings today and thought I would share the process.
Step 1:
Freeze crank overnight.

Step 2:
Preheat oven to 200

Step 3:
Take bearings and place in oven for 25 minutes.


Step 4:
Remove crank from freezer after the bearings are done heating up.

Step 5:
Remove bearings from oven 1 at a time and slide onto crankshaft. If this is done correctly no tools are needed. Also note that these are polymer cage bearings and the open side needs to face away from the crank web.


Step 6:
Repeat on other side.

Matched up the port transfers a little bit.
Rough cut with dremel

After about a hour of filing and sanding most of the material is gone.


Left side is done

Right side is done

Next crankshaft installation.


 !
! 