
Post by ILLGotti on Jul 4, 2009 2:10:28 GMT -5
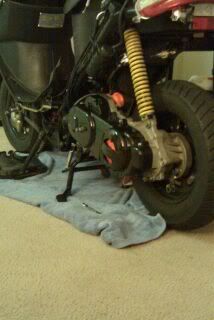
O.k. so here is my contribution to this site, I hope it can help some of you guys. I've seen a couple of posts on fixing panels but nothing on fixing a mounting tab. Also, the other methods require much more prep work, one method used a bunch of chemical goo's, the other was similar to my method, but that method would make it near impossible to re-attach a little tab because of the grinding and beveling of the edges.
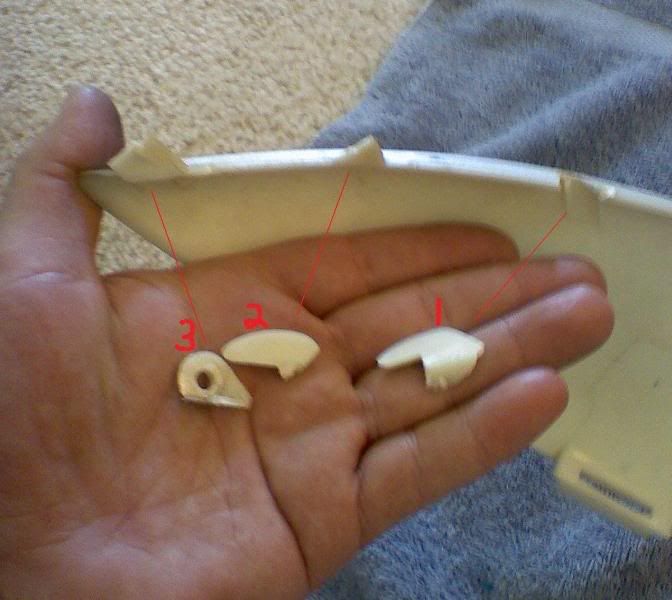
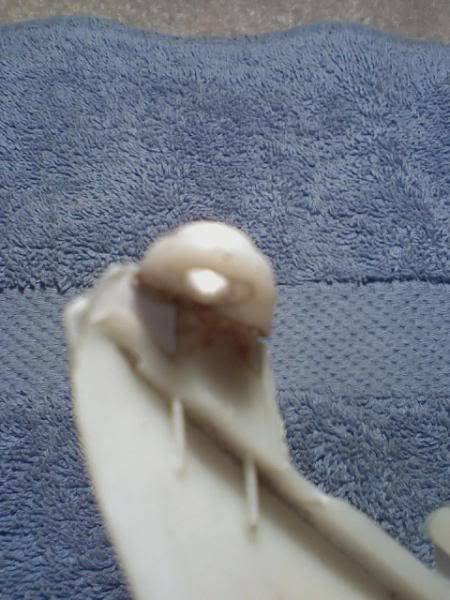
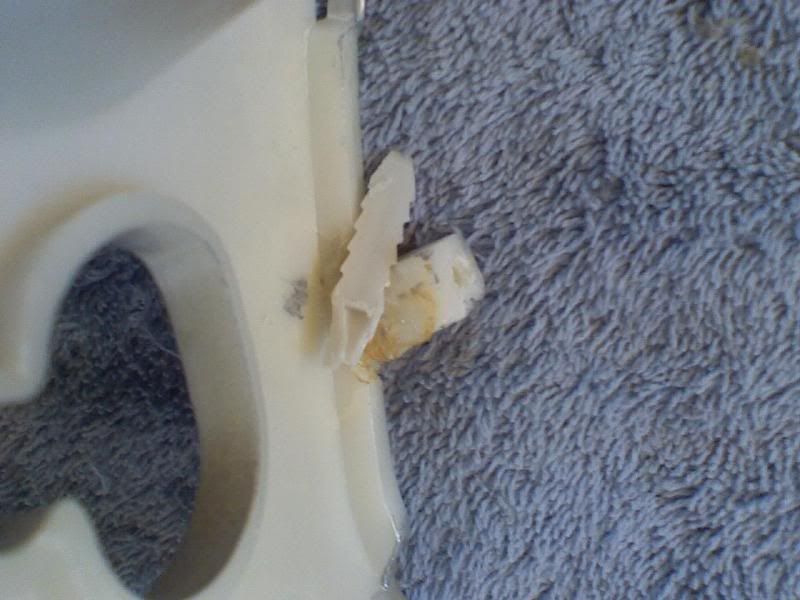
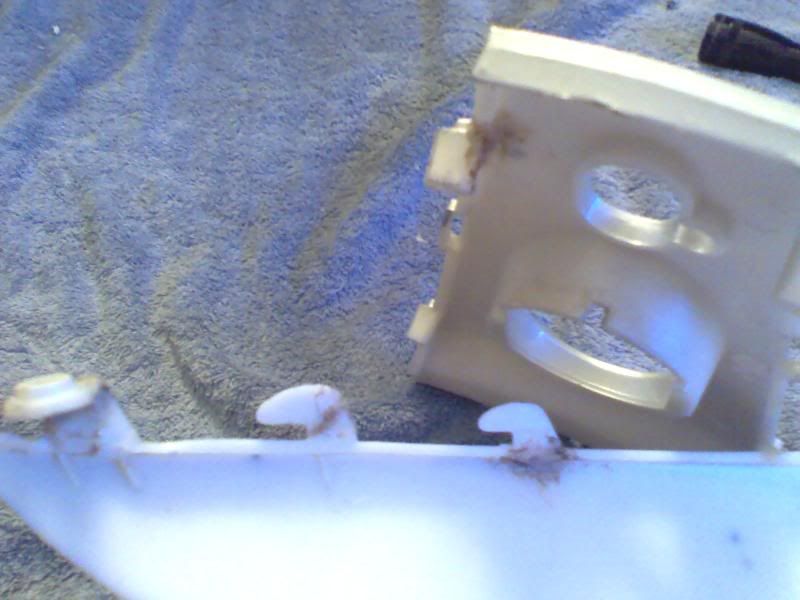
So, let's get to it... All you really need is a soldering iron. And maybe some zip ties. I've got 2 pieces of scooter with mounting tabs broken off. One piece is one of two upper side panels, the other is a small piece with a hole in the middle (where you fill up your gas tank) that connects the two upper side panels. in the picture below is the upper side panel and the 3 mounting tabs that broke off... I've numbered them 1, 2, and 3. (right to left because 3 was the hardest and I will save it for last) Note that they are all broken differently and will need to be approached as such. 1 has taken a chunk of that lip close to the exposed outside finish. 2 is purely the tab broken without getting near the lip. whereas 3 is a totally different type of break. It sits at a 90 degree angle with the hole facing up and down and towards you.
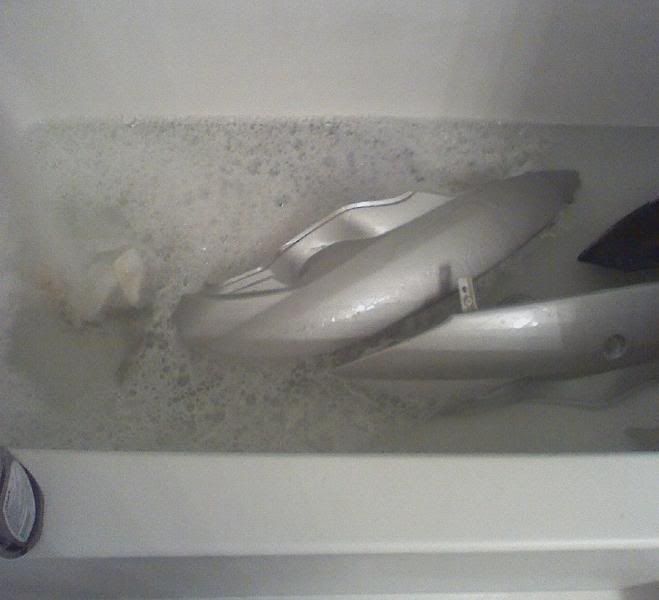
The next step is to wash it to get any dirt off (there are other pieces in the tub because I painted the bike black in the process
Next, I taped the tabs into position on the finished side. It's not ridged, it's only meant to help you keep it sitting where its supposed to be.

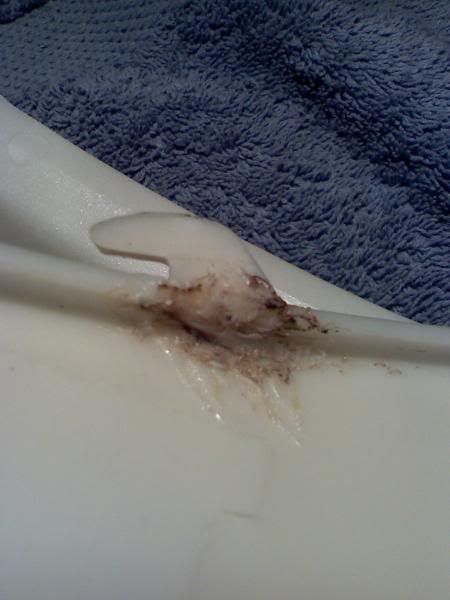
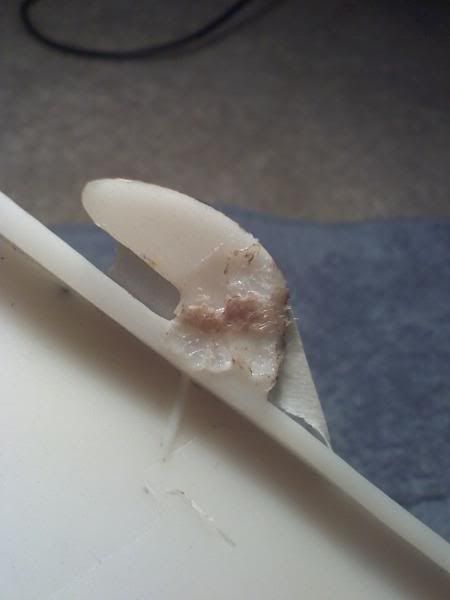
This is Tab 1, I have used material from the tab and worked it down over the crack. You want to melt it along the crack first, trying to get as far in without going through, then let it cool, and then begin working the plastic around it to fill in the channel from the first pass. Notice the two lines on the panel side, where I "borrowed" material and worked it towards the crack
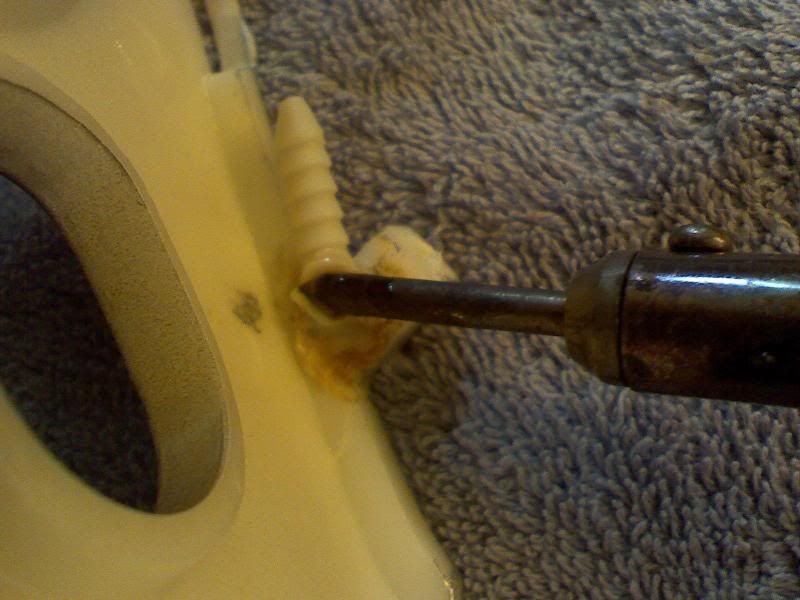
Next Is Tab 2. This pic is a perfect representation of what i meant by melting along the crack first, the tip of the soldering iron is penetrating almost to the other side. (this will give it strength) Also note I didn't take off the tape. Leave it on until your confident the tab isn't going to move.
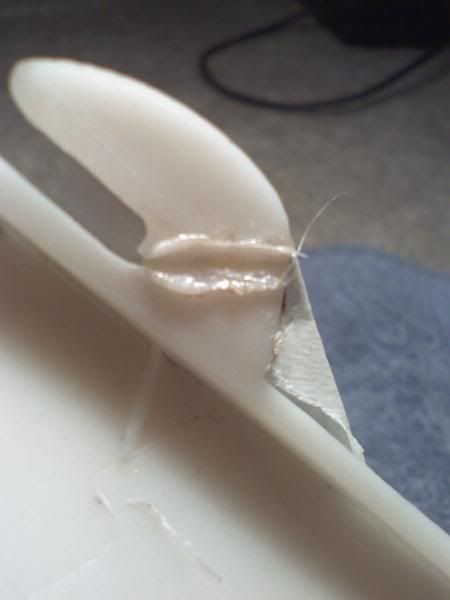
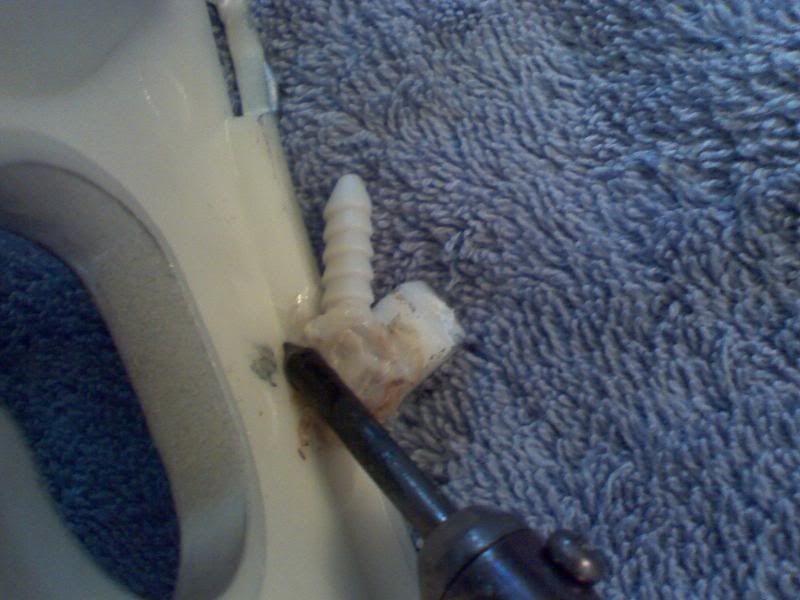
Another pic of Tab 2. I have used a small amount of material from both sides. Starting from the top, you build up a little material on the tip of the soldering iron as you move it down. Simulatiously, the iron is melting the plastic along the way over the crack. I continue to push past the crack melting the other side and spreading molten plastic along the way creating one fused piece. Let this cool and repeat the process starting from the bottom and working past where the crack was and a little past it. So essentially you've made alternating layers from both sides and worked it into the channel.
Still Tab 2... I have unplugged the soldering iron and let it cool for a moment, so it wouldn't melt too much, then kind of packed that material down with the side of the tip. Then I plugged it back in...
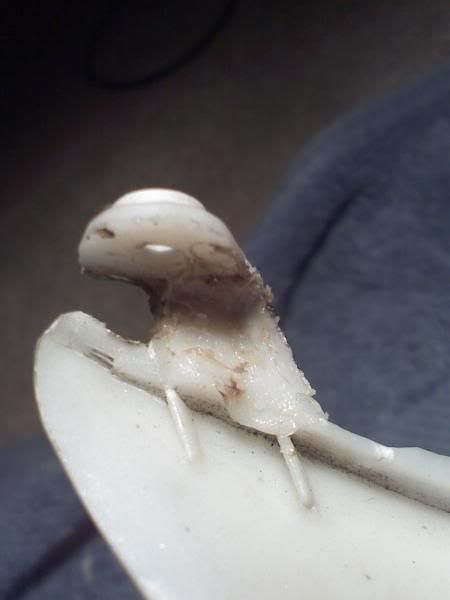
So here is Tab 3. I leaned the tab back a little here to show you what I was working with. I decided to quickly sear both edges and smush them together quickly, before I even started with the edge welding. That tape was really absolutely nessessary for this one.
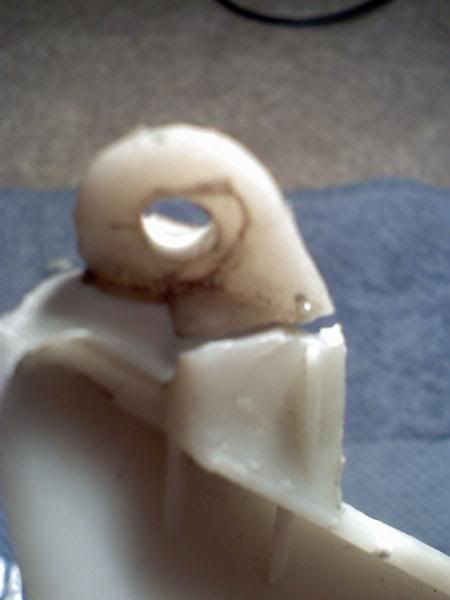
Again, I melted along the crack. It was hard to get in there so I sort of spot welded along the crack
Then, using the same technique as before, used surrounding material to fuse it all together notice I used a relatively nice amount of material from that lip.
Now I let it cool, took the tape off and repeated the process as pretty as could on the other side.
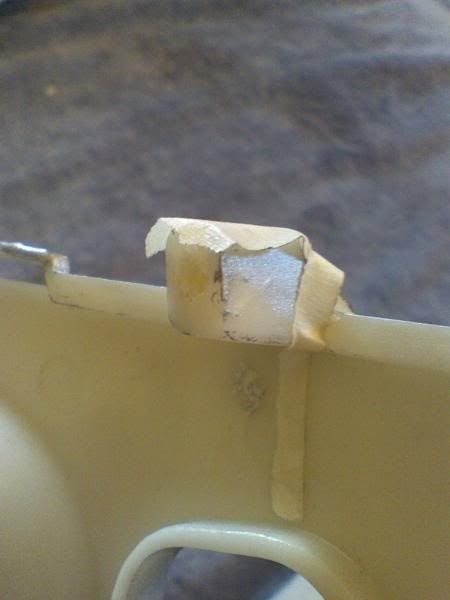
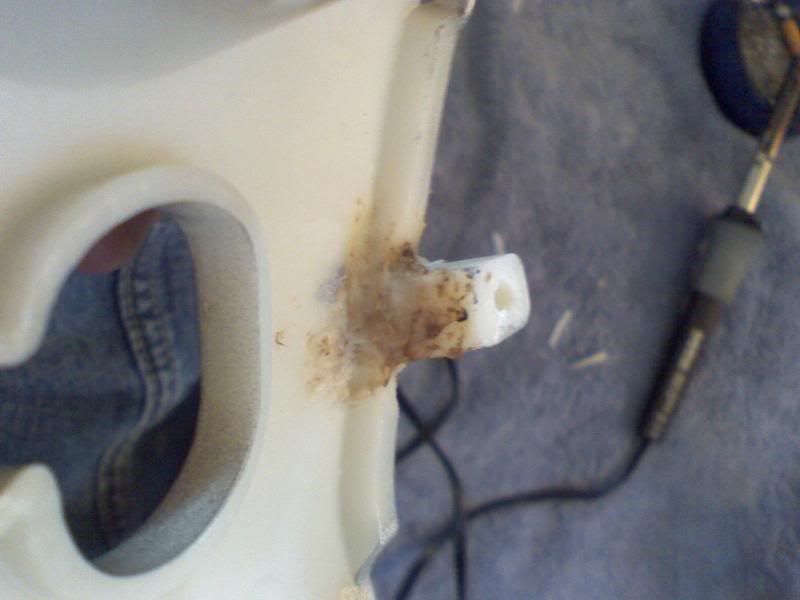
Now for the other piece. (the one that attaches the two upper side panels, and goes over the gas cap) This one is another story completely, as it sits funny and there wasn't any place to borrow material from.
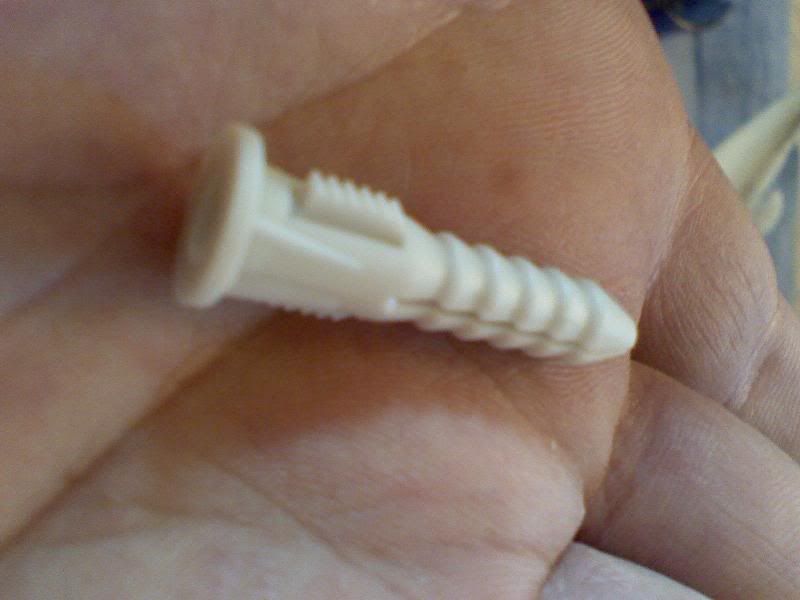
Here is what I used as material. I cut it in half down the center so it wouldn't be so thick. Zip ties are another great and inexpensive source of material. I'm not sure what other common things are made of the right plastic, so don't ask.
I prepped it the same as before, but I was not satisfied with the strength, so we are adding more.
Its very important to melt it into the sorrounding material, just melting the material is not good enough, it needs to melt in with the other material.
Really make sure it's fusing together, I can't stress that enough.
I melted the excess off around the edge...
And that was it. I am sure there are some skeptic's on the strength, but all 4 of these "welds" held, and are still holding after driving the scoot about 40 miles now...
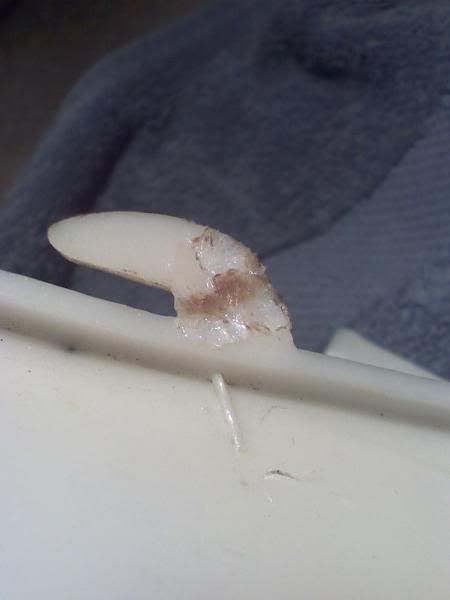
And here is the finished product from the front... (they were later sanded and painted, but it was not relevent)

Now, I did go back and add material on Tab 3. I wanted to make sure I got it good...
-ILL
So, let's get to it... All you really need is a soldering iron. And maybe some zip ties. I've got 2 pieces of scooter with mounting tabs broken off. One piece is one of two upper side panels, the other is a small piece with a hole in the middle (where you fill up your gas tank) that connects the two upper side panels. in the picture below is the upper side panel and the 3 mounting tabs that broke off... I've numbered them 1, 2, and 3. (right to left because 3 was the hardest and I will save it for last) Note that they are all broken differently and will need to be approached as such. 1 has taken a chunk of that lip close to the exposed outside finish. 2 is purely the tab broken without getting near the lip. whereas 3 is a totally different type of break. It sits at a 90 degree angle with the hole facing up and down and towards you.
The next step is to wash it to get any dirt off (there are other pieces in the tub because I painted the bike black in the process
Next, I taped the tabs into position on the finished side. It's not ridged, it's only meant to help you keep it sitting where its supposed to be.
This is Tab 1, I have used material from the tab and worked it down over the crack. You want to melt it along the crack first, trying to get as far in without going through, then let it cool, and then begin working the plastic around it to fill in the channel from the first pass. Notice the two lines on the panel side, where I "borrowed" material and worked it towards the crack
Next Is Tab 2. This pic is a perfect representation of what i meant by melting along the crack first, the tip of the soldering iron is penetrating almost to the other side. (this will give it strength) Also note I didn't take off the tape. Leave it on until your confident the tab isn't going to move.
Another pic of Tab 2. I have used a small amount of material from both sides. Starting from the top, you build up a little material on the tip of the soldering iron as you move it down. Simulatiously, the iron is melting the plastic along the way over the crack. I continue to push past the crack melting the other side and spreading molten plastic along the way creating one fused piece. Let this cool and repeat the process starting from the bottom and working past where the crack was and a little past it. So essentially you've made alternating layers from both sides and worked it into the channel.
Still Tab 2... I have unplugged the soldering iron and let it cool for a moment, so it wouldn't melt too much, then kind of packed that material down with the side of the tip. Then I plugged it back in...
So here is Tab 3. I leaned the tab back a little here to show you what I was working with. I decided to quickly sear both edges and smush them together quickly, before I even started with the edge welding. That tape was really absolutely nessessary for this one.
Again, I melted along the crack. It was hard to get in there so I sort of spot welded along the crack
Then, using the same technique as before, used surrounding material to fuse it all together notice I used a relatively nice amount of material from that lip.
Now I let it cool, took the tape off and repeated the process as pretty as could on the other side.
Now for the other piece. (the one that attaches the two upper side panels, and goes over the gas cap) This one is another story completely, as it sits funny and there wasn't any place to borrow material from.
Here is what I used as material. I cut it in half down the center so it wouldn't be so thick. Zip ties are another great and inexpensive source of material. I'm not sure what other common things are made of the right plastic, so don't ask.
I prepped it the same as before, but I was not satisfied with the strength, so we are adding more.
Its very important to melt it into the sorrounding material, just melting the material is not good enough, it needs to melt in with the other material.
Really make sure it's fusing together, I can't stress that enough.
I melted the excess off around the edge...
And that was it. I am sure there are some skeptic's on the strength, but all 4 of these "welds" held, and are still holding after driving the scoot about 40 miles now...
And here is the finished product from the front... (they were later sanded and painted, but it was not relevent)
Now, I did go back and add material on Tab 3. I wanted to make sure I got it good...
-ILL