|
|
Post by autox4fun on May 2, 2010 10:54:17 GMT -5
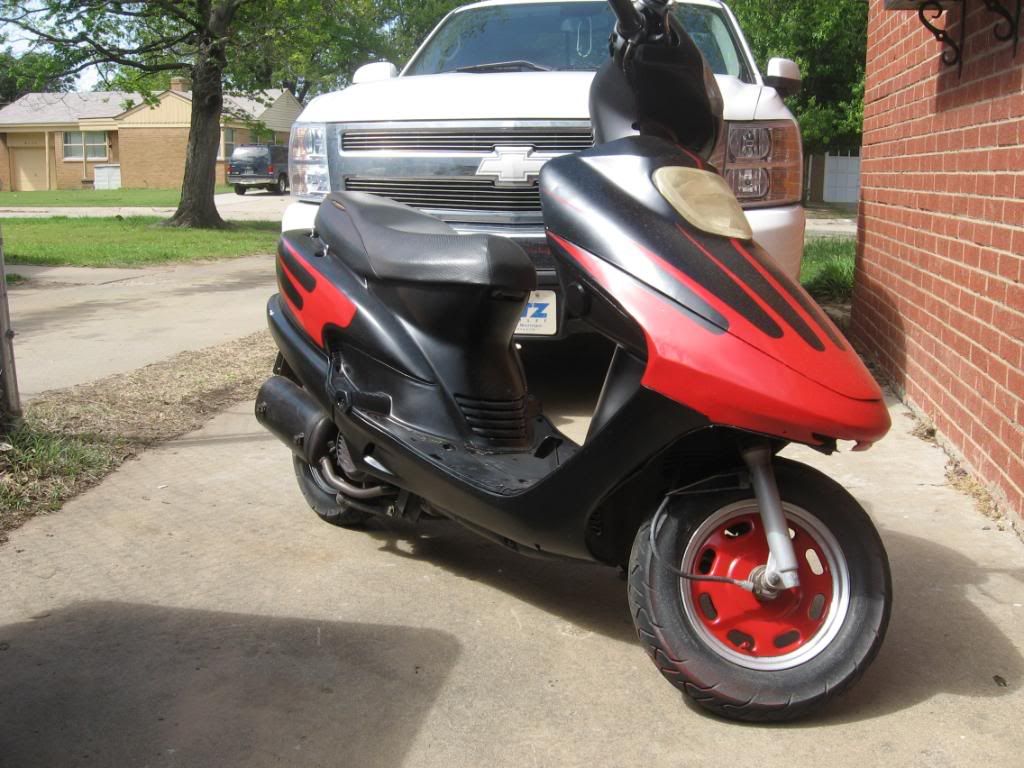
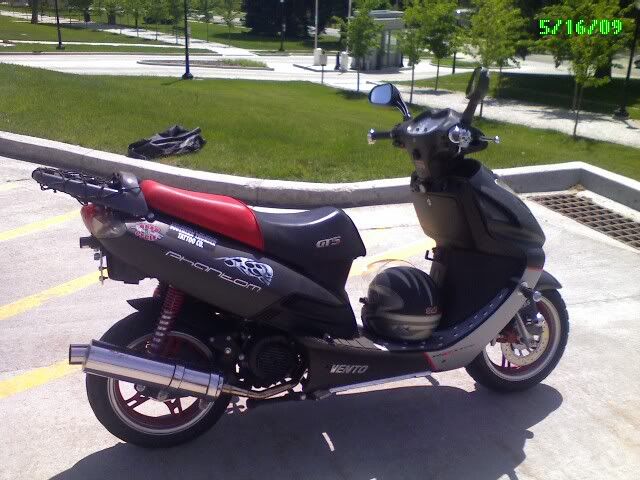
 Started out this color....hated it.. but the price was right  had a bad rod bearing.  stripped it down  painted the swing arm, ported the head.   made a custom intake pipe, added a 32mm carb, and elbow modified the stupid hump, welded a extra brace onto the hump  Ground down a small section of the arms to lower the front end an inch or so.   Had a body shop buddy of mine paint up the parts. niteshaded the turn lenses. LED side markers are planned, high/low H4 HID kit is installed the end will have a matte black stripe, with an orange pinstripes. Wheels will also be matte black with orange pinstriping and polished lip. Will update has the project continues. Randy |
|
|
|
Post by eagle150 on May 2, 2010 14:10:43 GMT -5
What a great looking custom! HAVE A BONE!
Looks like you're doing it right... You'll have years of enjoyment from this one. Please do keep us updated with pix!
Ride safe,
Leo in Texas
|
|
|
|
Post by autox4fun on May 3, 2010 6:30:25 GMT -5
Thanks, it's been the winter project that I'm very ready to take a ride on.
Paint got finished last night for the body parts.
Then the wheels are next. 13 inch tri spoke stocker like in the top picture.
|
|
|
|
Post by hotrodscoot on May 4, 2010 17:39:51 GMT -5
what did you grind down to lower it? im thinking about lowering mine but dont know how to lower the front
|
|
|
|
Post by autox4fun on May 4, 2010 21:48:49 GMT -5
what did you grind down to lower it? im thinking about lowering mine but dont know how to lower the front The shock is held in place by clamps. The bolt hole also are lined up so that a bolt also acts like a pin to lock it in from up and down movement. So I measured up the lines already there, marked a new notch location and put die grinder to work. Cut in the new location for the bolt to slide past. Final bolt up will will be made with the wheel in place and a preload on the shocks. |
|
|
|
Post by autox4fun on May 12, 2010 18:52:43 GMT -5
 motor install  near....  in...  Upgraded coil installed  some panels on...  more panels on... |
|
|
|
Post by brianpresnell on May 12, 2010 22:49:50 GMT -5
The base color looks great. You mentioned orange pin striping, personally I think white would look better.
|
|
|
|
Post by autox4fun on May 13, 2010 5:43:51 GMT -5
I was thinking white also.
1/8 in pearl white - 3/16 in burnt orange -matte black - 3/16 burnt orange 1/8 pearl white
also kicking around a deep maroon
|
|
|
|
Post by autox4fun on May 13, 2010 17:04:42 GMT -5
 pin stripe options |
|
|
|
Post by autox4fun on May 16, 2010 7:23:01 GMT -5
Got a little work done yesterday...   Cleaned the tank, ran new larger lines for fuel, mounted the upgrade pump  pulled the wiring harness to delete the alarm - resolder all connection and run larger gauge wiring for some circuits.    Installed a cap to aid to starting, powering up the HID lights, installed updated larger gauge wiring to stiffen the scooters electrical.  rear body panel on for test fitting. |
|
|
|
Post by Jake aka: Ventoscoot on May 16, 2010 15:31:24 GMT -5
very nice!! is that coil the one we both are using?
|
|
|
|
Post by autox4fun on May 16, 2010 17:01:29 GMT -5
Yup the one from Dan...
I still have a lot of work yet...
The rims are ready for paint then I may be able to fire it up and run it down the block
Fingers are crossed...
|
|
|
|
Post by autox4fun on May 22, 2010 6:25:55 GMT -5
|
|
|
|
Post by scootinkvman on May 22, 2010 13:17:47 GMT -5
How did you wire in the cap for the hid lighting system you installed on your scoot ?
will c.
|
|
|
|
Post by autox4fun on May 23, 2010 8:16:05 GMT -5
The cap is wired in parallel with the battery. I've pulled voltage after the cap so it would buffer the voltage when the HID's are turn on. final testing hasn't happened yet but here are some pictures of it getting closer...    The headlight and handle bar panels are just set there for the picture. Took it out for a test ride yesterday and I have to say I do like the longer chassis / bigger wheel combo. I've got another 150 with the 10 inch rims and it's very playful to drive but this one is a cruiser. |
|
|
|
Post by autox4fun on May 31, 2010 20:16:00 GMT -5
Well got to ride the scooter some more this weekend... I've got some tuning to do with the cvt. Ordered some pieces parts today. Between directly contacting Rick @ www.scrappydogscooters.com and using ebay to order from him as well. Rick contacted me back today on a holiday... very very cool of him! This is the second time I've ordered from scrappy dog scooters and have been wow'd everytime! So with some cvt tuning, a usb to serial adapter in route for use with programmable cdi I picked up fron Dan (dee Jay). Working with Jake aka vento on the cdi wiring and start of programming. A small upgrade via a 59mm big bore in the back pocket for later in the summer and learning the cdi software jetting and some ride time. This is going to be an awesome summer. |
|
|
|
Post by Jake aka: Ventoscoot on Jun 1, 2010 0:39:49 GMT -5
I'm going to get my serial to USB today. I will forward you the manual that Swakk sent me. It is in 'Frenglish' but is pretty straight forward. Looks like we almost need to build a whole new set of wires for this CDI/Coil combo.
|
|
|
|
Post by autox4fun on Jun 1, 2010 22:38:14 GMT -5
just two wires have to be changed so far ( crossing fingers)
|
|
|
|
Post by autox4fun on Jul 30, 2010 6:05:16 GMT -5
Wow, June 1st was a while ago....
Final found some time to get back into the scoot...
BBK installed (59mm) noted that I have a little more space in the case for something larger later. and A9 cam.
I have a new torque spring and clutch springs (two different sets for tuning) a few more jets for tuning, and a cdi I have yet to plug into and start mapping timing.
the summer is almost over and I've just been teaching my summer away...
|
|
|
|
Post by autox4fun on Oct 7, 2012 11:56:25 GMT -5
|
|
|
|
Post by cygnus on Oct 7, 2012 21:15:08 GMT -5
Clever use of the cap to buffer the batt for the HID's..
Where'd you get that coil?
|
|

 had a bad rod bearing.